
Your Dog’s Ear Yeast Infection: A Step-by-Step Guide to Relief
As a responsible dog owner, you strive to provide your furry companion with the best possible care. You feed them nutritious meals, ensure they get ample exercise, and shower them with affection. But sometimes, despite your best efforts, your dog might encounter health issues. One common, and often uncomfortable, problem is a dog’s ear yeast infection. This comprehensive guide will walk you through everything you need to know, from recognizing the signs to implementing effective treatment strategies, ensuring your dog’s comfort and well-being.
Understanding Ear Yeast Infections in Dogs
Before delving into the specifics of treatment, it’s crucial to understand what a dog’s ear yeast infection is and why it happens. These infections, also known as otitis externa, are caused by an overgrowth of yeast, typically the Malassezia pachydermatis species, which naturally resides in a dog’s ear canal. Under normal circumstances, the immune system keeps this yeast in check. However, several factors can disrupt the balance, leading to an infection.
The warm, moist environment of a dog’s ear canal provides an ideal breeding ground for yeast. When this environment becomes imbalanced, yeast can proliferate rapidly, causing inflammation, irritation, and the characteristic symptoms associated with a dog’s ear yeast infection.
Recognizing the Signs: Is It a Yeast Infection?
Early detection is key to managing a dog’s ear yeast infection effectively. Knowing the signs can help you identify the problem quickly and seek veterinary care promptly. Here are some common symptoms to watch out for:
- Excessive scratching: This is often the first sign. Your dog will likely scratch their ears frequently and intensely.
- Head shaking: A dog with an ear infection will often shake their head vigorously in an attempt to relieve the discomfort.
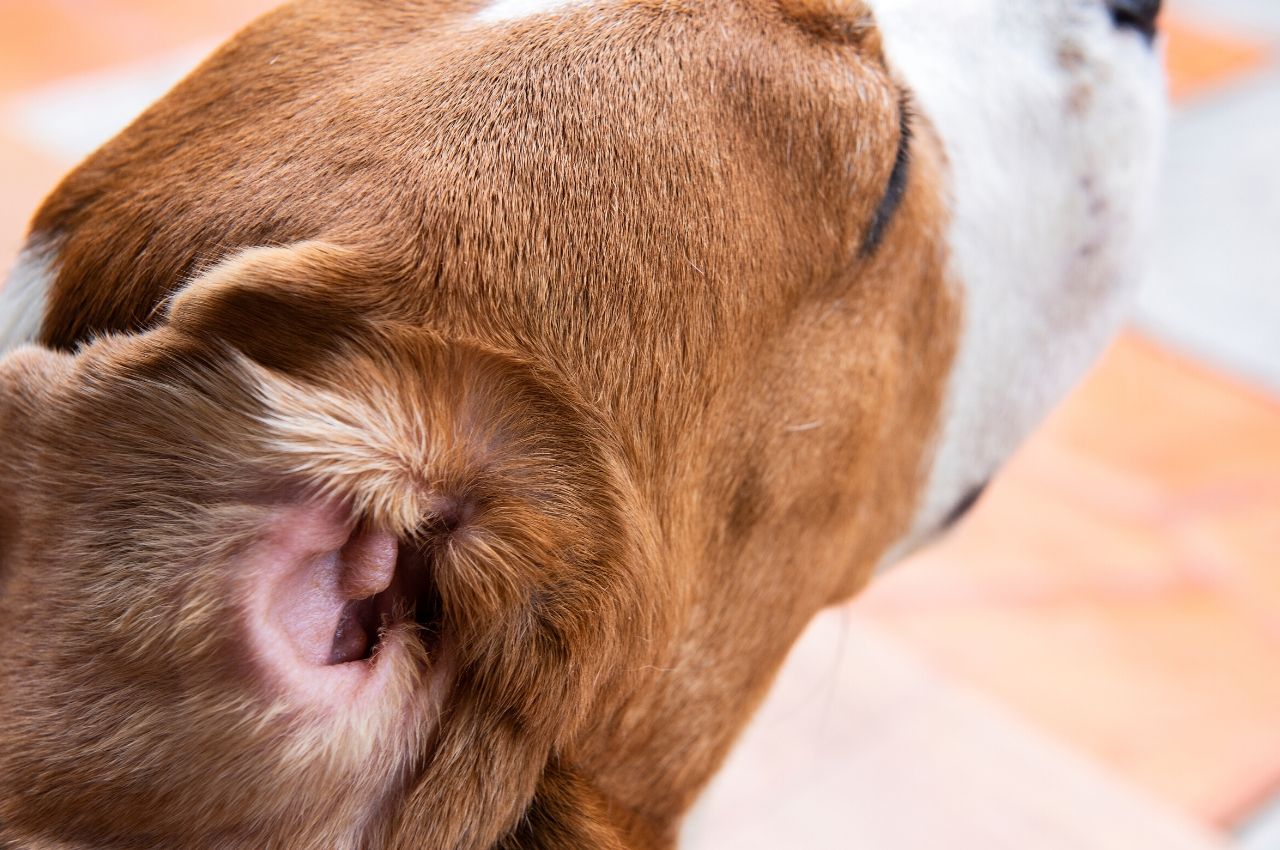
- Redness and swelling: The inside of the ear flap (pinna) may appear red and inflamed.
- Foul odor: A distinct, often unpleasant, smell is a telltale sign of a dog’s ear yeast infection.
- Dark discharge: The ear may produce a dark, waxy, or crumbly discharge. The color can range from brown to black.
- Pain or tenderness: Your dog might show signs of pain when you touch their ears. They might flinch or whine.
- Crusting or scabbing: In chronic cases, you might notice crusting or scabbing around the ear.
If you observe any of these symptoms, it’s essential to consult your veterinarian. Self-diagnosing and attempting to treat a dog’s ear yeast infection at home without professional guidance can worsen the condition and potentially lead to other complications.
Causes and Risk Factors
Several factors can increase a dog’s susceptibility to ear yeast infections. Understanding these risk factors can help you take preventative measures:
- Allergies: Food allergies and environmental allergies are common culprits, causing inflammation and creating a favorable environment for yeast overgrowth.
- Moisture: Excessive moisture in the ear canal, often due to swimming or bathing, can promote yeast growth.
- Ear conformation: Dogs with floppy ears, such as Cocker Spaniels and Basset Hounds, are more prone to ear infections because their ear canals are less ventilated.
- Foreign objects: Grass seeds, insects, or other debris trapped in the ear can irritate the ear canal and lead to infection.
- Underlying medical conditions: Conditions like hypothyroidism can weaken the immune system, making dogs more vulnerable to infections.
- Poor ear hygiene: Infrequent or improper ear cleaning can contribute to the buildup of wax and debris, creating a breeding ground for yeast.
Identifying the underlying cause of the dog’s ear yeast infection is crucial for effective treatment and preventing recurrence. Your veterinarian will likely conduct a thorough examination and may perform tests to determine the root cause.
Step-by-Step Guide to Diagnosis and Treatment
The diagnosis and treatment of a dog’s ear yeast infection typically involve the following steps:
- Veterinary Examination: Your veterinarian will examine your dog’s ears using an otoscope to visually inspect the ear canal and eardrum.
- Cytology: A sample of the ear discharge will be taken and examined under a microscope to identify the presence of yeast and other potential pathogens.
- Cleaning the Ears: Before treatment, the veterinarian will thoroughly clean your dog’s ears to remove debris and discharge. This is an essential step as it allows the medication to penetrate the ear canal effectively.
- Antifungal Medication: Your veterinarian will prescribe an antifungal medication. This can be in the form of ear drops, ointments, or sometimes oral medications for severe cases. Follow the veterinarian’s instructions carefully regarding dosage and frequency.
- Follow-up Appointments: Regular follow-up appointments are often necessary to monitor the progress of the treatment and ensure the infection is resolving. Your veterinarian may perform repeat cytology to assess the effectiveness of the medication.
Important note: Never attempt to insert anything deep into your dog’s ear canal. This can cause serious damage to the eardrum. Always follow your veterinarian’s recommendations.
Administering Ear Medication: A Practical Guide
Administering ear medication to your dog can be challenging, especially if your dog is uncooperative. Here’s a step-by-step guide to make the process easier:
- Gather Supplies: You’ll need the prescribed medication, cotton balls or gauze, and a towel.
- Position Your Dog: Have your dog sit or stand comfortably. You can use treats or praise to keep them calm.
- Clean the Ear (If instructed): If your veterinarian has instructed you to clean the ear before applying medication, gently wipe the inside of the ear flap with a cotton ball or gauze soaked in a veterinary-approved ear cleaner.
- Administer the Medication: Hold the ear flap up with one hand. With the other hand, carefully squeeze the prescribed amount of medication into the ear canal.
- Massage the Ear: Gently massage the base of the ear for about 30 seconds to distribute the medication throughout the ear canal. You should hear a squishing sound.
- Allow Your Dog to Shake: Allow your dog to shake their head after the massage.
- Wipe Away Excess: Use a cotton ball or gauze to wipe away any excess medication from the outer ear.
- Reward and Praise: Give your dog a treat and praise them for being a good patient.
Consistency is key. Administer the medication as prescribed by your veterinarian, even if your dog appears to be feeling better.
Preventing Future Ear Yeast Infections
Preventing a dog’s ear yeast infection involves a proactive approach to ear hygiene and overall health. Here are some tips to help you protect your dog:
- Regular Ear Cleaning: Clean your dog’s ears regularly, especially after swimming or bathing. Use a veterinarian-approved ear cleaner and follow the instructions carefully.
- Dry Ears Thoroughly: After swimming or bathing, thoroughly dry your dog’s ears. Use a towel to dry the outer ear and gently wipe the inside of the ear flap.
- Address Allergies: Work with your veterinarian to identify and manage any allergies your dog may have. This can involve dietary changes, medication, or environmental control.
- Monitor for Early Signs: Be vigilant in monitoring your dog’s ears for any signs of infection. Early detection allows for prompt treatment and can prevent the infection from worsening.
- Regular Veterinary Checkups: Schedule regular checkups with your veterinarian. They can examine your dog’s ears and provide guidance on ear care.
- Proper Grooming: Keep the hair around your dog’s ears trimmed to improve air circulation.
By following these preventative measures, you can significantly reduce the risk of your dog developing a dog’s ear yeast infection.
When to Seek Veterinary Care Immediately
While many dog’s ear yeast infections can be effectively treated with medication, some situations require immediate veterinary attention:
- Severe Pain: If your dog is in significant pain, refuses to eat, or appears extremely uncomfortable, seek veterinary care immediately.
- Head Tilting or Loss of Balance: These symptoms can indicate a more serious inner ear infection.
- Facial Paralysis: Facial paralysis can be a sign of a severe infection that requires prompt medical attention.
- Fever: A fever can indicate a systemic infection.
- Worsening Symptoms: If your dog’s symptoms worsen despite treatment, contact your veterinarian.
Don’t hesitate to seek veterinary care if you have any concerns about your dog’s health. Early intervention can often prevent complications and ensure a better outcome.
Conclusion: Keeping Your Dog’s Ears Healthy
A dog’s ear yeast infection can be a frustrating and uncomfortable experience for both you and your dog. However, with the right knowledge and approach, you can effectively manage and prevent these infections. By understanding the causes, recognizing the signs, and following a step-by-step treatment plan, you can provide your dog with the relief they deserve. Remember to work closely with your veterinarian, practice good ear hygiene, and be vigilant in monitoring your dog’s ears for any signs of trouble. By taking these steps, you can ensure your furry friend enjoys a happy and healthy life.
[See also: Ear Mites in Dogs: Symptoms, Treatment, and Prevention] [See also: Dog Allergies: Identifying and Managing Common Allergens] [See also: The Best Dog Ear Cleaners: A Veterinarian’s Guide]

