Waxing Your Snowboard: A Step-by-Step Guide (Plus Costs)
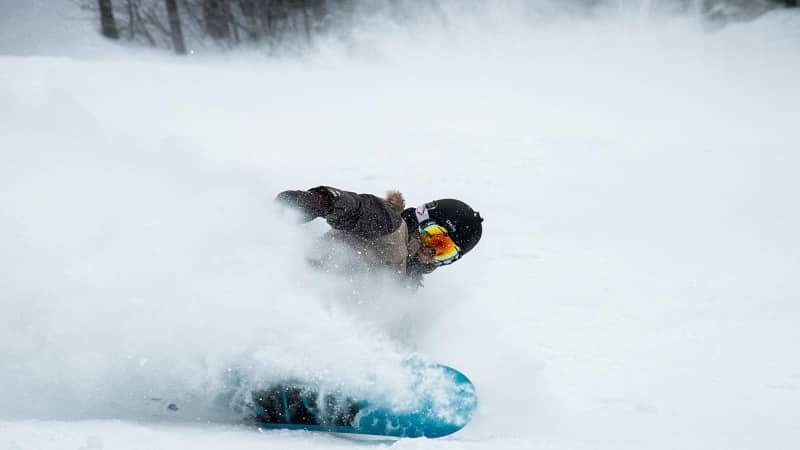
The crisp mountain air, the thrill of the descent, the satisfying carve through fresh powder – snowboarding is an experience unlike any other. But to truly enjoy the slopes, your equipment needs to be in top condition. One of the most crucial maintenance tasks for your snowboard is waxing. This guide will walk you through the process of waxing your snowboard, providing a step-by-step approach, and even delving into the associated costs. Maintaining your snowboard’s base with regular waxing is essential for optimal performance and longevity. Neglecting this simple task can lead to a slower ride, base damage, and ultimately, a less enjoyable experience on the mountain. This article will show you exactly how to keep your board in tip-top shape.
Why Wax Your Snowboard? The Science of Glide
Before diving into the how-to, let’s understand the ‘why.’ Snowboard bases are made of polyethylene, a material that, while durable, isn’t naturally hydrophobic (water-repelling). As your snowboard glides across the snow, friction generates heat. This heat melts a thin layer of water, creating a small amount of moisture between the base and the snow. This water, if not managed correctly, creates drag, slowing you down. Waxing your snowboard fills the microscopic pores in the base, creating a barrier that repels water and reduces friction. This results in a smoother, faster ride, allowing you to glide effortlessly across the snow. Furthermore, the wax protects the base from abrasion and drying out, which can lead to cracking and damage.
Gathering Your Supplies: The Essentials for Waxing
Before you begin, gather the necessary tools and materials. Investing in quality gear upfront will save you time and money in the long run. Here’s a checklist of what you’ll need:
- Snowboard Wax: Choose a wax appropriate for the temperature conditions you’ll be riding in. There are general-purpose waxes, as well as waxes specifically formulated for cold, warm, or all-temperature conditions. Consider the snow conditions you typically encounter. If you often ride in varied conditions, an all-temp wax is a good starting point.
- Waxing Iron: A dedicated waxing iron is ideal. Avoid using a regular clothes iron, as it can be difficult to control the temperature accurately and may damage your board.
- Scraper: A plastic scraper is essential for removing excess wax. A sharp, clean scraper is key for a good finish.
- Brush: A nylon or horsehair brush is used to brush the base after scraping, removing any remaining wax residue and opening the base structure.
- Base Cleaner: This removes dirt and old wax, preparing the base for the new wax application.
- Rags or Paper Towels: For cleaning and wiping.
- Work Surface: A sturdy table or workbench is ideal. Protect the surface with a tarp or drop cloth.
- Rubber Bands: To secure your board.
Step-by-Step Guide to Waxing Your Snowboard
Now, let’s get down to business. Follow these steps for a professional-quality wax job:
Step One: Preparation is Key
Before applying wax, you must prepare your snowboard. Begin by cleaning the base with base cleaner and a rag. This removes any dirt, grime, or old wax that could interfere with the new wax. Allow the base to dry completely. Secure your snowboard on a stable surface using rubber bands or clamps to prevent it from moving during the waxing process. This is a crucial step for a successful waxing your snowboard experience.
Step Two: Wax Application – The Melting Process
Turn on your waxing iron and set it to the appropriate temperature for the wax you are using. Different waxes have different melting points, so always consult the wax manufacturer’s instructions. Hold the wax bar against the iron and drip the melted wax onto the base of your snowboard, covering the entire surface evenly. You don’t need to use a lot of wax at this stage; the goal is to create an even layer across the base. Avoid overheating the iron, as this can damage the base.
Step Three: The Ironing Process – Spreading the Wax
Once the wax is evenly distributed, carefully iron the wax onto the base. Hold the iron flat against the base and move it slowly and steadily from tip to tail. Avoid stopping in one place for too long to prevent overheating the base. The goal is to melt the wax evenly into the base, filling the microscopic pores. This process is critical for effective waxing your snowboard.
Step Four: Cooling and Curing – The Waiting Game
After ironing, allow the wax to cool and harden completely. This typically takes at least 30 minutes to an hour, but it’s best to err on the side of caution and let it cool longer, especially if you are waxing in a cold environment. The cooling process allows the wax to properly bond with the base material. Avoid touching the wax while it cools as this can leave marks.
Step Five: Scraping – Removing the Excess
Once the wax has cooled and hardened, it’s time to scrape. Hold the scraper at a 90-degree angle to the base and apply firm, even pressure, scraping the wax from tip to tail. The goal is to remove all the excess wax, leaving a thin, even layer behind. Be sure to scrape the edges of your board thoroughly. A sharp scraper is essential for a clean finish. This is a critical step in the waxing your snowboard procedure. The amount of wax removed might surprise you!
Step Six: Brushing – The Final Touch
After scraping, brush the base with a nylon or horsehair brush. Brush from tip to tail, using firm, even strokes. This removes any remaining wax residue and opens up the base structure, allowing for optimal glide. Brushing is an often-overlooked step, but it’s crucial for maximizing performance. The brushing process is the last step in waxing your snowboard and prepares it for the slopes.
Waxing Costs: Budgeting for Performance
The cost of waxing your snowboard varies depending on whether you do it yourself or have it done professionally. Let’s break down the costs:
- DIY Waxing: If you choose to wax your snowboard yourself, the initial investment in tools and materials can range from $50 to $200 or more, depending on the quality of the equipment you purchase. However, the ongoing cost is relatively low, as a bar of wax can last for several waxing sessions.
- Professional Waxing: Having your snowboard waxed professionally typically costs between $20 and $50 per session, depending on the shop and the services offered. This is a convenient option, especially if you don’t have the time or space to wax your board yourself.
Consider the frequency with which you ride and your budget when deciding between DIY and professional waxing. If you ride frequently, the initial investment in tools will pay off over time. If you only ride a few times a season, professional waxing might be a more economical choice.
How Often Should You Wax Your Snowboard?
The frequency of waxing your snowboard depends on several factors, including how often you ride, the snow conditions, and the type of wax you use. As a general guideline:
- Regular Riders: If you ride several times a month, wax your snowboard every 2-3 days on the mountain or every 3-5 times you ride.
- Occasional Riders: If you ride less frequently, wax your snowboard at the beginning and end of the season, and potentially again mid-season if you notice a significant decrease in performance.
- Powder Days: Riding in fresh powder can strip the wax from your base more quickly, so you might need to wax more frequently after powder days.
Pay attention to how your snowboard feels on the snow. If it feels slow or sticky, it’s likely time for a wax.
Beyond Waxing: Additional Snowboard Maintenance
While waxing your snowboard is a crucial maintenance task, it’s not the only one. Here are some other things you should consider:
- Edge Sharpening: Keep your edges sharp for optimal control. Dull edges can make it difficult to carve and control your board.
- Base Repair: Repair any scratches or gouges in the base to prevent further damage.
- Binding Maintenance: Check your bindings regularly for wear and tear. Tighten screws and replace any damaged parts.
- Storage: Store your snowboard properly at the end of the season to protect it from damage. Clean and wax the base before storing it.
Proper maintenance will extend the life of your snowboard and ensure you have a great experience on the slopes. [See also: Related Article Titles: Snowboard Edge Sharpening, Snowboard Base Repair, How to Store Your Snowboard].
Conclusion: Maintaining the Ride
Waxing your snowboard is a fundamental aspect of snowboard maintenance, contributing significantly to your performance and enjoyment on the mountain. This step-by-step guide equips you with the knowledge and tools to keep your board in top condition, whether you choose to do it yourself or rely on professional services. By understanding the importance of waxing, the proper techniques, and the associated costs, you can ensure your snowboard glides smoothly and efficiently, maximizing your time on the slopes. Regular waxing, combined with other essential maintenance tasks, will allow you to fully embrace the thrill of snowboarding for years to come. Embrace the slopes with confidence, knowing your board is ready to perform. Proper waxing your snowboard is an investment in your enjoyment of the sport.

