
Transform Your Skin: A Simple Homemade Rosehip Oil Recipe for Radiant Results
In the ever-evolving world of skincare, the pursuit of a healthy, glowing complexion often leads us down a path paved with expensive products and complicated routines. However, the answer to achieving radiant skin might just be found in something simple, natural, and surprisingly effective: rosehip oil. This article delves into the remarkable benefits of rosehip oil and provides you with a straightforward guide to crafting your own homemade rosehip oil recipe. Prepare to unlock the secrets to a more youthful, vibrant you.
Understanding the Power of Rosehip Oil
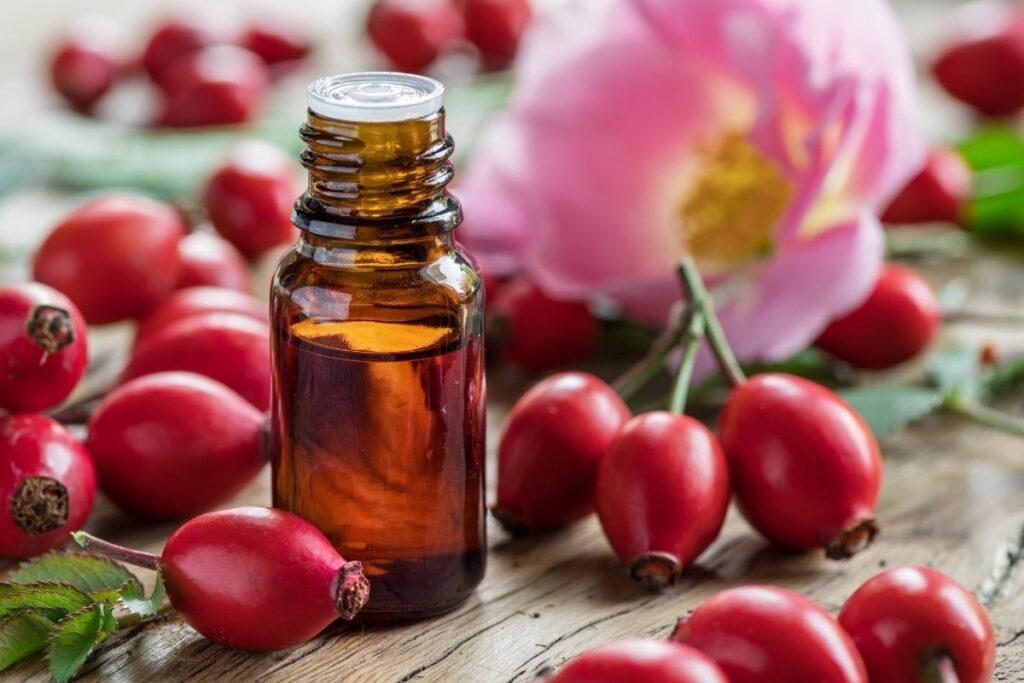
Rosehip oil, derived from the seeds of the rose plant (Rosa canina), is a powerhouse of skin-loving nutrients. Unlike rose essential oil, which is extracted from the petals, rosehip oil is cold-pressed from the fruit and seeds, retaining a higher concentration of beneficial compounds. This process ensures the oil is packed with essential fatty acids, antioxidants, and vitamins that work synergistically to rejuvenate and protect your skin.
The benefits of rosehip oil are numerous and well-documented. Its high concentration of linoleic and linolenic acids, essential fatty acids that the body cannot produce on its own, helps to strengthen the skin’s barrier function, locking in moisture and preventing dryness. Furthermore, rosehip oil is a rich source of antioxidants, including vitamin C, which combats free radical damage caused by environmental stressors like pollution and UV radiation. This antioxidant activity helps to reduce the appearance of fine lines, wrinkles, and age spots, promoting a more youthful complexion. The presence of vitamin A, in the form of trans-retinoic acid, contributes to cell turnover, helping to reduce the appearance of scars and hyperpigmentation. Regular application can lead to a noticeable improvement in skin texture and tone.
For those seeking a natural approach to skincare, incorporating rosehip oil into your routine is an excellent choice. It is generally well-tolerated by most skin types, including sensitive skin, and can be used on the face, body, and even hair. The versatility of rosehip oil makes it a valuable addition to any beauty regimen.
The Ingredients You’ll Need
Creating your own homemade rosehip oil is surprisingly simple and requires only a few key ingredients. The most important element is, of course, the rosehips themselves. You can source these dried or fresh, depending on availability. Make sure they are from a reputable source to ensure quality and avoid any potential contaminants. Here’s a list of what you’ll need:
- Dried rosehips (Rosa canina): Approximately 1 cup
- Carrier oil: 1 cup (almond oil, jojoba oil, or olive oil work well)
- A clean glass jar with a lid
- Cheesecloth or a fine mesh strainer
- A dark glass bottle for storage
Choosing a high-quality carrier oil is crucial. Almond oil, with its light texture and rich moisturizing properties, is a popular choice. Jojoba oil, which closely resembles the skin’s natural sebum, is another excellent option, particularly for those with oily or acne-prone skin. Olive oil, while effective, has a slightly heavier feel. The choice is yours, but ensure the carrier oil is pure and cold-pressed for optimal benefits. The quality of ingredients directly impacts the final product’s effectiveness, so choose carefully when making your own rosehip oil recipe.
Crafting Your Homemade Rosehip Oil Recipe: A Step-by-Step Guide
Now, let’s get to the fun part: creating your own rosehip oil recipe! Follow these simple steps to unlock the skin-transforming power of rosehip oil.
- Prepare the Rosehips: If using fresh rosehips, wash and dry them thoroughly. If using dried rosehips, ensure they are clean and free of any debris. Lightly crush the dried rosehips to help release their oils.
- Combine Ingredients: Place the crushed rosehips in the clean glass jar. Pour the carrier oil over the rosehips, ensuring they are fully submerged.
- Infuse the Oil: There are two main methods for infusing the oil:
- Sun Infusion: Seal the jar tightly and place it in a sunny location for 4-6 weeks. Shake the jar gently every few days to encourage the infusion process.
- Warm Infusion (faster method): Place the jar in a water bath (a saucepan with a few inches of water) over low heat. Gently heat the oil for 2-3 hours, keeping the water level consistent. Avoid boiling the water.
- Strain the Oil: Once the infusion period is complete (either after the sun infusion or the warm infusion), strain the oil through cheesecloth or a fine mesh strainer into a clean bowl. Discard the rosehip solids.
- Store the Oil: Pour the strained rosehip oil into a dark glass bottle to protect it from light and preserve its potency. Label the bottle with the date and ingredients.
Congratulations! You’ve successfully created your own homemade rosehip oil recipe. Store your finished product in a cool, dark place to extend its shelf life. Proper storage is key to maximizing the longevity and effectiveness of your rosehip oil recipe.
How to Use Your Homemade Rosehip Oil
Now that you’ve crafted your own rosehip oil recipe, it’s time to incorporate it into your skincare routine. The versatility of rosehip oil allows for various applications.
- As a Facial Oil: Apply a few drops of rosehip oil to cleansed skin, morning and night. Gently massage it in until absorbed.
- As a Moisturizer Booster: Add a few drops of rosehip oil to your regular moisturizer for an extra boost of hydration and antioxidant protection.
- To Reduce Scars and Stretch Marks: Apply rosehip oil directly to scars and stretch marks, massaging it gently into the skin. Consistent use can help to improve their appearance.
- As a Hair Treatment: Apply a small amount of rosehip oil to the ends of your hair to nourish and add shine.
Always perform a patch test before applying rosehip oil to a large area of skin, especially if you have sensitive skin. Apply a small amount to a discreet area, such as your inner arm, and wait 24 hours to check for any adverse reactions. Consistency is key to seeing results. Regular use of your homemade rosehip oil recipe will lead to the best outcomes.
Safety and Considerations
While rosehip oil is generally safe for most people, there are a few considerations to keep in mind. As mentioned earlier, a patch test is always recommended, especially if you have sensitive skin or are prone to allergies. Discontinue use if you experience any irritation or allergic reaction.
Rosehip oil can be photosensitive, meaning it may increase your skin’s sensitivity to the sun. Therefore, it is crucial to apply sunscreen daily, especially if you are using rosehip oil during the day. Choose a broad-spectrum sunscreen with an SPF of 30 or higher. Furthermore, it is important to note that while rosehip oil is generally safe, it’s always best to consult with a dermatologist if you have any specific skin concerns or are taking any medications. This is particularly important if you are using rosehip oil to treat a pre-existing skin condition.
Maximizing Your Results: Tips and Tricks
To further enhance the benefits of your homemade rosehip oil recipe, consider these additional tips:
- Exfoliate Regularly: Exfoliating your skin once or twice a week helps to remove dead skin cells, allowing the rosehip oil to penetrate more effectively.
- Use a Hydrating Toner: Applying a hydrating toner before the rosehip oil can help to boost hydration and enhance absorption.
- Combine with Other Ingredients: Experiment with combining rosehip oil with other beneficial ingredients, such as essential oils (lavender, chamomile) or other carrier oils. Be cautious when mixing, and always perform a patch test.
- Stay Consistent: The key to seeing results with rosehip oil is consistency. Incorporate it into your daily skincare routine for optimal benefits.
By following these tips, you can maximize the effectiveness of your homemade rosehip oil recipe and achieve the radiant skin you desire.
Beyond the Recipe: The Broader Benefits of Natural Skincare
Creating your own homemade rosehip oil recipe is not just about achieving beautiful skin; it’s also about embracing a more natural and sustainable approach to skincare. Homemade skincare allows you to control the ingredients, avoiding harsh chemicals and additives often found in commercial products. This can be particularly beneficial for those with sensitive skin or those who are concerned about the environmental impact of their beauty products.
Furthermore, making your own skincare products can be a rewarding and empowering experience. It allows you to connect with nature and understand the power of natural ingredients. It also promotes a more mindful approach to self-care, encouraging you to take the time to nurture your skin and well-being. The benefits of natural skincare extend beyond just physical appearance; they also contribute to a greater sense of self-care and overall well-being.
Conclusion: Embrace the Transformation
The journey to radiant skin doesn’t have to be complicated or expensive. With a simple homemade rosehip oil recipe and a commitment to consistency, you can unlock the transformative power of this natural ingredient. Embrace the process, experiment with different techniques, and enjoy the journey towards a healthier, more radiant you. The results speak for themselves: a more youthful, vibrant complexion that reflects your inner glow. Start your rosehip oil recipe today and experience the transformation!
[See also: Related Article Titles]

