The A-Z of Almond Nail Tips: Your Ultimate Guide to Prep, Application, and Flawless Finish
The world of nail artistry is constantly evolving, with new trends and techniques emerging all the time. Among the most enduring and elegant of these trends is the almond nail shape, often enhanced with the application of nail tips. This comprehensive guide, “The A-Z of Almond Nail Tips,” will walk you through every step of the process, from understanding the basics to achieving a salon-worthy manicure at home. We will cover everything from preparation and application to achieving that perfect, long-lasting finish. Whether you’re a seasoned nail enthusiast or a complete beginner, this guide provides the knowledge and insights you need to master the art of almond nail tips.
Understanding the Almond Nail Shape
Before diving into the application process, it’s crucial to understand the almond nail shape itself. Characterized by its tapered sides and a rounded tip resembling an almond, this shape is both flattering and versatile. It elongates the fingers, making them appear slender, and provides ample space for creative nail art. The almond shape is also relatively strong, making it less prone to breakage compared to more extreme shapes like stiletto nails. The gentle curve of the almond nail tip allows for a natural look that complements a variety of hand shapes and sizes. Knowing this will help you appreciate the end result when you use almond nail tips.
Essential Tools and Materials for Almond Nail Tips
To embark on your almond nail tip journey, you’ll need a collection of essential tools and materials. Investing in high-quality products is key to achieving professional-looking results. Here’s a comprehensive list:
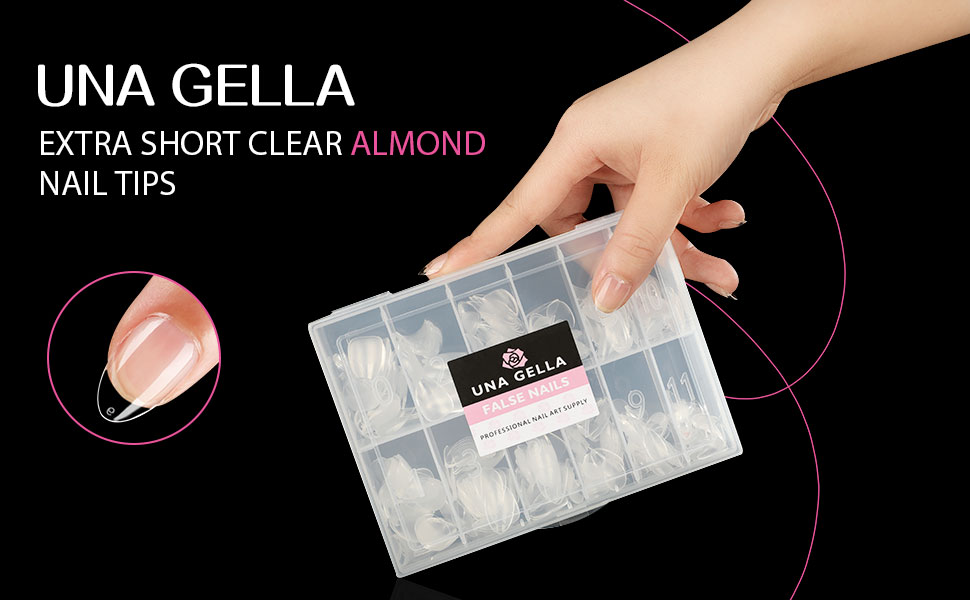
- Almond Nail Tips: These are the foundation of your manicure. Choose a size that fits your natural nail beds comfortably. Consider pre-shaped almond nail tips for ease of use.
- Nail Glue: A strong, professional-grade nail glue is essential for securing the tips to your natural nails.
- Nail Tip Cutter: This tool allows you to trim the almond nail tips to your desired length.
- Nail File: A coarse file for shaping the tips and a finer file for smoothing the surface.
- Nail Buffer: For buffing the surface of the nails and tips to create a smooth base.
- Nail Primer: To dehydrate the nail surface and improve adhesion.
- Base Coat: Protects the natural nail and provides a smooth surface for polish.
- Top Coat: Seals the nail polish and adds shine, and helps prevent chipping.
- Nail Polish (of your choice): Choose your favorite colors and finishes.
- Cuticle Pusher and Nipper: For preparing the cuticles.
- Acetone or Nail Polish Remover: For cleaning up spills and removing old polish.
- Optional: LED or UV lamp (if using gel polish), nail art tools (dotting tools, brushes, etc.)
Preparing Your Natural Nails for Almond Nail Tips
Proper preparation is the cornerstone of a successful almond nail tip application. Taking the time to prepare your natural nails correctly ensures that the tips adhere properly and last longer. Follow these steps:
- Clean and Sanitize: Start by washing your hands thoroughly with soap and water. Use a nail brush to clean under the nails. Sanitize your hands with an antibacterial cleanser.
- Remove Old Polish: If you have any existing nail polish, remove it completely using nail polish remover.
- Trim and Shape: Trim your natural nails to a short length, leaving about 1-2mm of free edge. Gently file the free edge to create a smooth surface.
- Push Back and Trim Cuticles: Gently push back your cuticles using a cuticle pusher. Trim any excess cuticle skin with a cuticle nipper. Be careful not to over-trim, as this can lead to infections.
- Buff the Nail Surface: Lightly buff the surface of your natural nails with a fine-grit file or buffer. This removes the shine and creates a slightly rough surface for better adhesion of the nail glue.
- Clean and Dehydrate: Wipe each nail with a nail cleanser or rubbing alcohol to remove any dust or oil. Apply nail primer to dehydrate the nail surface.
Following these steps meticulously is crucial before applying your almond nail tips. Skipping these steps can lead to lifting and premature detachment of the tips.
Applying the Almond Nail Tips: A Step-by-Step Guide
Now for the exciting part: applying the almond nail tips. Here’s a step-by-step guide to help you achieve a flawless application:
- Select the Right Size: Choose the almond nail tips that best fit each of your natural nails. The tip should fit snugly against the natural nail, without overlapping the sidewalls too much.
- Apply Nail Glue: Apply a small amount of nail glue to the well of the almond nail tip. Avoid using too much glue, as this can cause bubbles and weaken the bond.
- Position the Tip: Carefully position the tip over your natural nail, aligning the well with your cuticle line. Angle the tip downward and gently press it onto your natural nail.
- Press and Hold: Hold the tip firmly in place for about 15-20 seconds to allow the glue to set. Ensure there are no air bubbles trapped underneath the tip.
- Repeat for All Nails: Repeat the process for all your fingers, ensuring each almond nail tip is securely attached.
- Trim to Length: Once all the tips are applied, use a nail tip cutter to trim them to your desired length.
- Shape the Tips: Using a nail file, carefully shape the almond nail tips to your desired almond shape. File the sides to create the tapered effect and smooth the free edge.
- Blend the Tip: Blend the tip seamlessly into your natural nail by filing the seam where the tip meets your natural nail. This is crucial for a natural look.
- Buff the Surface: Buff the entire surface of the almond nail tips to remove any imperfections and create a smooth base for your nail polish.
This detailed process ensures a strong and beautiful foundation for your almond nail tips.
Choosing the Right Nail Polish for Almond Nail Tips
Once your almond nail tips are in place and shaped, it’s time to choose your nail polish. The versatility of the almond shape allows you to experiment with a wide range of colors, finishes, and nail art designs. Consider these factors when selecting your polish:
- Color: Choose colors that complement your skin tone and personal style. Neutral shades like nude, blush pink, and light beige are always elegant choices. Bold colors like reds, blues, and greens can make a statement.
- Finish: Experiment with different finishes, such as glossy, matte, shimmer, and glitter. A glossy finish adds shine and sophistication, while a matte finish creates a more understated look. Shimmer and glitter polishes add a touch of glamour.
- Formula: Opt for high-quality nail polish with good pigmentation and long-lasting wear. Consider gel polish for a more durable and chip-resistant finish.
- Nail Art: The almond shape provides ample space for nail art designs. Experiment with different techniques, such as stamping, freehand painting, and embellishments.
Consider your lifestyle and the occasion when selecting your nail polish. For everyday wear, a neutral color or a simple design is a great choice. For special occasions, you can go bolder with color and nail art.
Achieving a Flawless Finish and Long-Lasting Results
The final steps are crucial for achieving a flawless finish and ensuring your almond nail tips last for as long as possible. Here’s how to do it:
- Apply Base Coat: Apply a thin layer of base coat to protect your natural nails and provide a smooth surface for the nail polish.
- Apply Nail Polish: Apply two thin coats of your chosen nail polish, allowing each coat to dry completely before applying the next.
- Apply Top Coat: Apply a generous layer of top coat to seal the nail polish and add shine. Apply the top coat to the free edge of the almond nail tips to prevent chipping.
- Maintenance: To extend the life of your manicure, apply a fresh coat of top coat every few days to protect the polish and maintain shine.
- Avoid Harsh Chemicals: Wear gloves when doing household chores or working with harsh chemicals, as these can damage the nail polish and weaken the almond nail tips.
- Proper Removal: When it’s time to remove your manicure, use a nail polish remover that is acetone-free to avoid damaging your natural nails. If using gel polish, follow the appropriate removal instructions.
By following these steps, you can enjoy a beautiful and long-lasting manicure with your almond nail tips.
Troubleshooting Common Issues with Almond Nail Tips
Even with careful application, you may encounter some common issues with almond nail tips. Here’s how to troubleshoot them:
- Lifting: If the tips are lifting, it could be due to inadequate nail prep, improper glue application, or not pressing the tip firmly enough. Reapply the tip, ensuring proper preparation and application.
- Bubbles: Bubbles under the tips can weaken the bond and cause the tips to lift. Avoid using too much glue and ensure the tip is pressed firmly onto the nail.
- Breakage: If the tips are breaking, it could be due to improper shaping or using thin tips. File the tips properly and consider using thicker, more durable tips.
- Chipping: Chipping can be caused by improper top coat application or exposure to harsh chemicals. Apply a generous layer of top coat and wear gloves when necessary.
Addressing these issues promptly will help you maintain the beauty and longevity of your almond nail tips.
Almond Nail Tips: Beyond the Basics
Once you’ve mastered the basics of applying almond nail tips, you can explore more advanced techniques and designs. Consider these options:
- Gel Extensions: For a more durable and long-lasting manicure, consider using gel extensions. This involves building the almond shape with gel, creating a stronger and more flexible tip.
- Nail Art: The almond shape is perfect for intricate nail art designs. Experiment with different techniques, such as stamping, freehand painting, and embellishments.
- Ombre and Color Blocking: Create stunning ombre effects or bold color-blocking designs on your almond nail tips.
- Different Finishes: Explore a variety of finishes, such as matte, shimmer, and glitter, to add dimension and interest to your manicure.
The possibilities are endless when it comes to almond nail tips. With practice and creativity, you can create stunning and personalized manicures.
Maintaining and Removing Almond Nail Tips
Proper maintenance and removal are crucial for keeping your natural nails healthy and ensuring your almond nail tips last. Here’s what you need to know:
- Regular Maintenance: As your natural nails grow, you’ll need to fill in the gap between the cuticle line and the almond nail tip. This involves applying a gel or acrylic product to fill the gap.
- Safe Removal: Avoid pulling or forcing the tips off, as this can damage your natural nails. Soak your nails in acetone or use a nail drill to gently remove the tips.
- Nail Care: After removing the tips, apply a nail strengthener or cuticle oil to nourish your natural nails.
Following these maintenance and removal guidelines will keep your nails healthy and beautiful.
Conclusion: Mastering the Art of Almond Nail Tips
The journey to mastering almond nail tips requires patience, practice, and attention to detail. From the initial preparation of your natural nails to the final application of nail polish, each step contributes to the overall success of your manicure. By following the guidelines in this comprehensive guide, you can confidently apply almond nail tips and achieve a salon-worthy look at home. Embrace the versatility of the almond shape and unleash your creativity with different colors, finishes, and nail art designs. Remember to prioritize proper maintenance and removal to keep your natural nails healthy and strong. With dedication and the right techniques, you can become a master of the art of almond nail tips, creating stunning manicures that will turn heads wherever you go. The elegance of almond nail tips awaits! This guide has provided you with the necessary knowledge to start, and with practice, your almond nail tip skills will surely improve.
[See also: How to Choose the Right Nail Shape for Your Hands] [See also: Best Nail Polish Colors for Almond Nails] [See also: Nail Art Ideas for Almond Shaped Nails]

