Restore Your Brass: A Comprehensive Guide to Patina Removal and Care
Brass, with its warm, inviting glow, has been a favored material for centuries. From elegant door knockers to gleaming musical instruments, its versatility and aesthetic appeal are undeniable. However, over time, brass inevitably develops a patina – a layer of oxidation that can dull its luster. While some appreciate the aged look, others prefer the original brilliance. This guide provides a comprehensive overview of how to restore your brass, covering patina removal methods and ongoing care to maintain its beauty for years to come. The process of restoring brass is a rewarding endeavor, allowing you to breathe new life into cherished objects. We will delve into the science behind patina, the tools and techniques required, and the best practices for long-term maintenance.
Understanding the Patina: Friend or Foe?
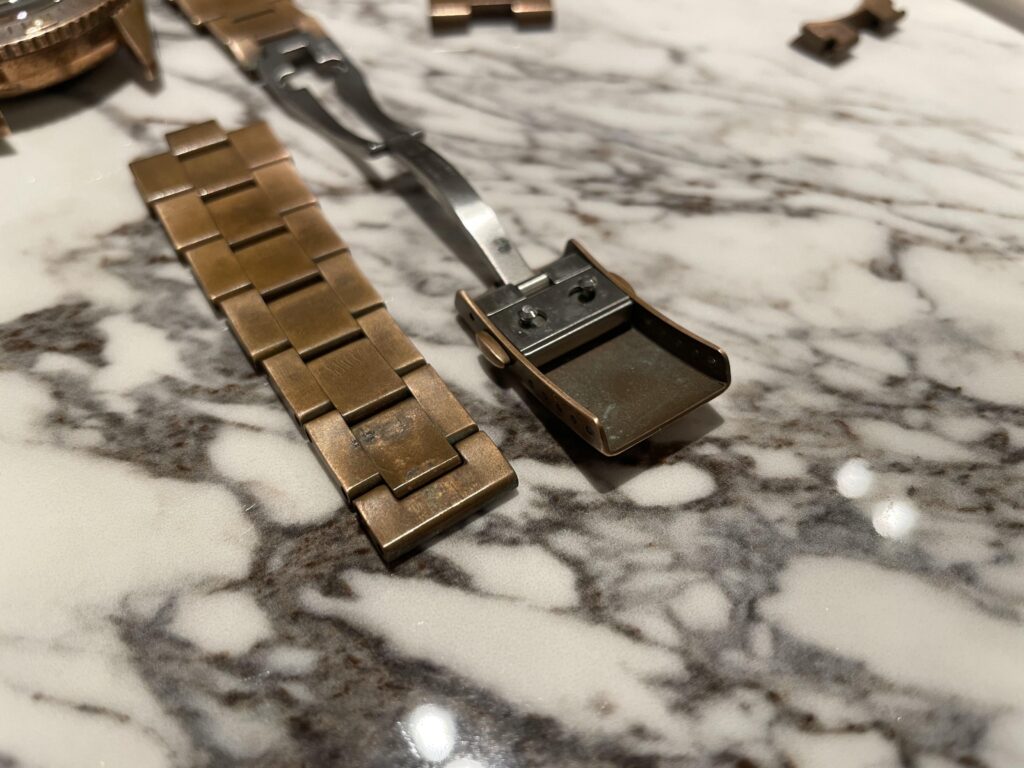
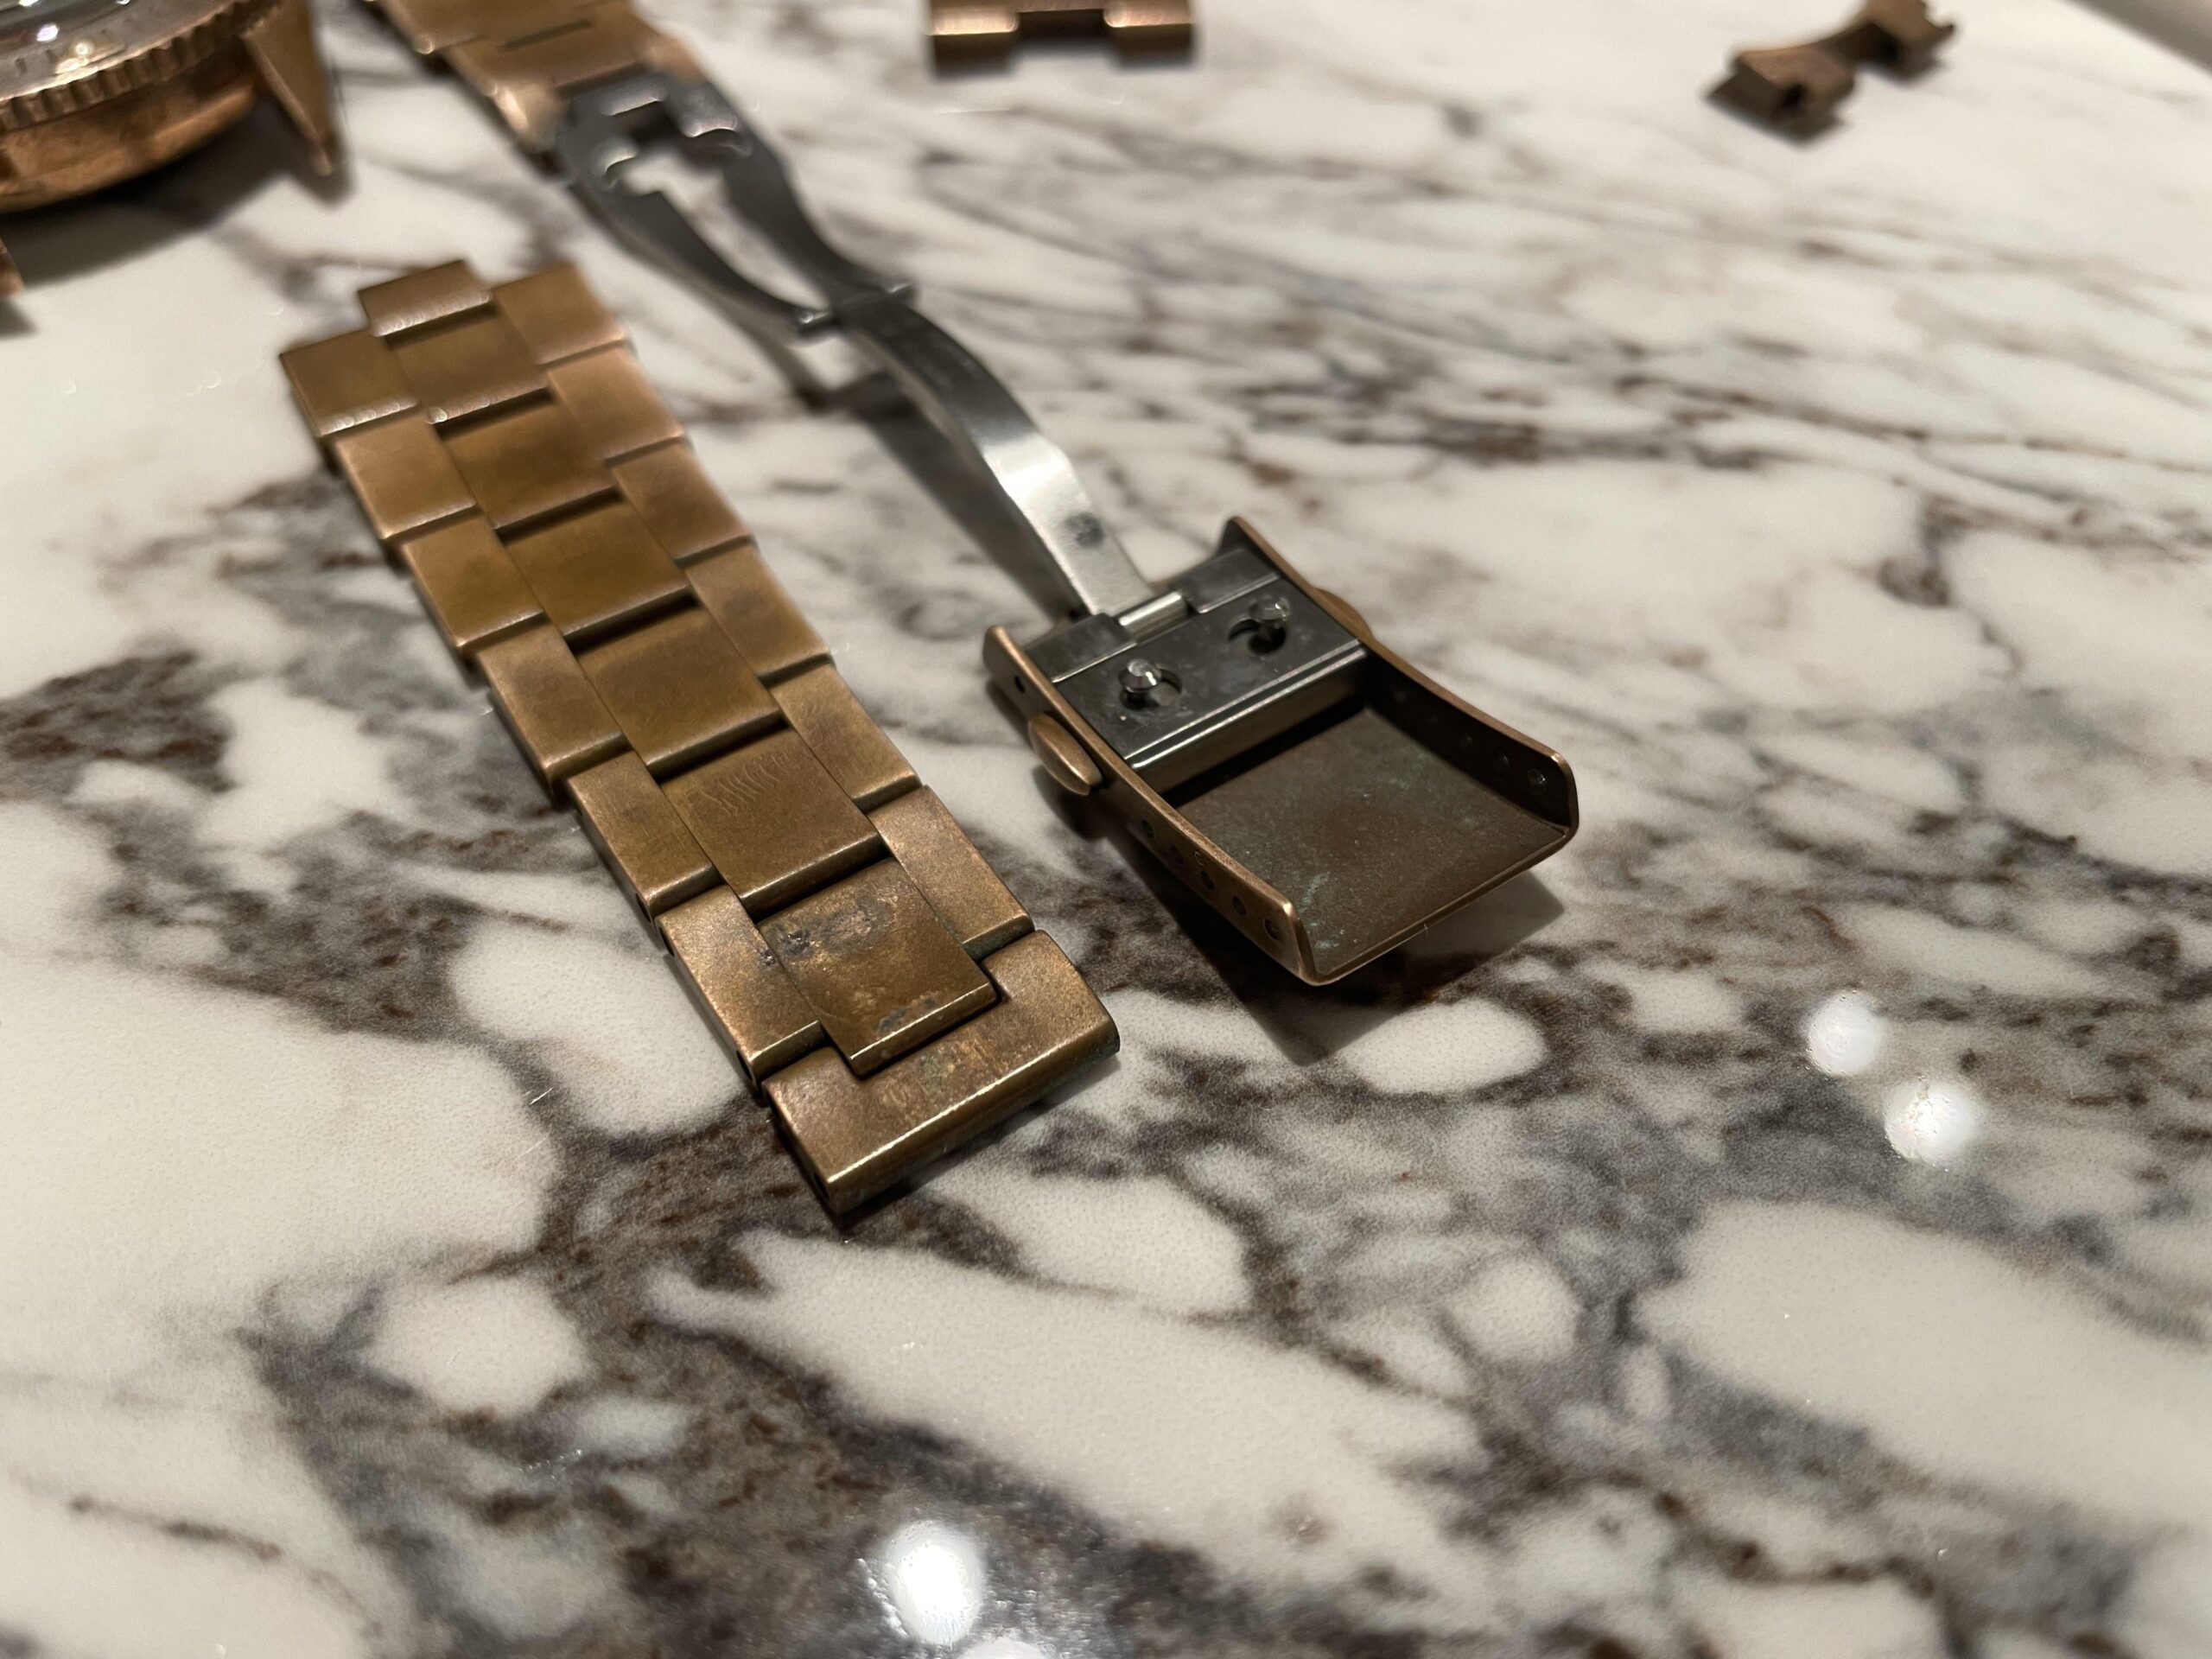
Before diving into restoration, it’s crucial to understand what a patina is and why it forms. Patina is essentially a layer of corrosion that develops on the surface of brass due to exposure to air, moisture, and other environmental factors. It’s a natural process, similar to the way silver tarnishes. The exact composition of the patina can vary depending on the environment and the alloy of the brass itself. In some cases, the patina can be a deep, rich brown or even black, while in others, it may appear as a dull, greenish hue. While some collectors and enthusiasts embrace the patina as a sign of age and character, others see it as an undesirable blemish that obscures the brass’s inherent beauty. The decision to remove the patina is entirely personal, but understanding the process and its implications is key.
Identifying the Brass: A Crucial First Step
Before you begin any restoration project, it’s vital to confirm that the item is indeed made of brass. While brass is commonly used, other metals like bronze or copper can easily be mistaken for it. This identification is crucial because different metals require different cleaning methods. One simple test is to use a magnet. Brass is a non-ferrous metal, meaning it’s not magnetic. If a magnet sticks to the object, it’s not brass. Another method involves examining the color and weight. Brass typically has a yellowish hue and feels heavier than similar-sized objects made of other materials. If you’re unsure, it’s always best to consult a professional or test a small, inconspicuous area first.
Methods of Patina Removal
There are several methods for removing patina from brass, ranging from gentle, homemade solutions to more aggressive chemical treatments. The best approach depends on the severity of the patina, the type of brass, and your desired level of effort.
Homemade Remedies
For light to moderate patina, homemade remedies are often a good starting point. These methods are typically gentler and use readily available ingredients. Here are a few popular options:
- Vinegar and Salt: This is a classic combination. Mix equal parts white vinegar and salt to form a paste. Apply the paste to the brass, let it sit for a few minutes, and then scrub gently with a soft cloth or brush. Rinse thoroughly with water and dry completely.
- Lemon Juice and Baking Soda: Similar to vinegar and salt, lemon juice and baking soda can create a mildly abrasive cleaning paste. Combine lemon juice and baking soda to form a paste, apply it to the brass, let it sit for a few minutes, and then scrub gently. Rinse and dry.
- Ketchup: Believe it or not, ketchup can be effective due to its mild acidity. Apply a thin layer of ketchup to the brass, let it sit for about 15 minutes, and then wipe it off with a soft cloth. Rinse and dry.
Commercial Brass Cleaners
For more stubborn patina or when a quicker solution is needed, commercial brass cleaners are often the preferred choice. These cleaners are specifically formulated to remove tarnish and oxidation. When using commercial cleaners, always follow the manufacturer’s instructions carefully. Wear gloves and work in a well-ventilated area. Test the cleaner on a small, inconspicuous area first to ensure it doesn’t damage the brass. After cleaning, rinse the brass thoroughly and dry it completely.
Professional Cleaning
For valuable or intricate brass items, or if you’re unsure about the best approach, consider consulting a professional restorer. Professionals have the expertise and specialized equipment to safely and effectively remove patina without damaging the brass. They can also provide advice on long-term care and maintenance. This is particularly recommended for antique brass items, as they can be more delicate and require specialized handling.
Tools and Materials You’ll Need
Regardless of the cleaning method you choose, you’ll need a few essential tools and materials:
- Soft Cloths or Rags: For applying cleaning solutions and wiping the brass. Avoid using abrasive materials that could scratch the surface.
- Soft-Bristled Brush: A toothbrush or a dedicated brass cleaning brush is useful for cleaning intricate areas or removing stubborn grime.
- Gloves: To protect your hands from cleaning solutions and potential irritants.
- Water and Mild Soap: For rinsing and cleaning the brass after removing the patina.
- Dry Towel: For thoroughly drying the brass to prevent water spots and further oxidation.
- Cleaning Solutions: As mentioned above, this could include vinegar, lemon juice, baking soda, ketchup, or a commercial brass cleaner.
Step-by-Step Guide to Patina Removal
Here’s a general step-by-step guide to removing patina from brass, using a commercial brass cleaner as an example. Remember to adapt these steps based on the cleaning method you choose.
- Preparation: Gather all your materials and prepare your workspace. Protect the surface you’re working on and ensure good ventilation. Put on gloves.
- Cleaning: Apply the brass cleaner according to the manufacturer’s instructions. This may involve applying the cleaner directly to the brass or to a soft cloth.
- Scrubbing: Gently scrub the brass with a soft cloth or brush, paying attention to areas with heavy patina.
- Rinsing: Rinse the brass thoroughly with clean water to remove all traces of the cleaner.
- Drying: Immediately dry the brass completely with a clean, dry towel. Ensure there’s no moisture left, as this can lead to water spots or further oxidation.
- Polishing (Optional): After cleaning and drying, you may choose to polish the brass with a brass polish to enhance its shine and protect it from future tarnish.
Protecting Your Brass: Long-Term Care
Once you’ve successfully restored your brass, the next step is to protect it from future patina formation. Regular care and maintenance are crucial to preserving its beauty. Here are some tips:
- Regular Dusting: Dust your brass items regularly to prevent the buildup of dirt and grime, which can contribute to tarnish.
- Gentle Cleaning: Clean your brass items periodically with a mild soap and water solution. Avoid harsh chemicals or abrasive cleaners.
- Polishing: Polish your brass items regularly with a brass polish to remove any developing tarnish and create a protective barrier.
- Storage: Store brass items in a dry, well-ventilated area. Consider wrapping them in acid-free tissue paper or storing them in airtight containers to minimize exposure to air and moisture.
- Handling: Handle brass items with clean hands to avoid transferring oils and dirt that can contribute to tarnish.
Common Mistakes to Avoid
When restoring brass, it’s easy to make mistakes that can damage the item or make the patina worse. Here are some common pitfalls to avoid:
- Using Abrasive Cleaners: Abrasive cleaners can scratch the surface of the brass, leaving it dull and more susceptible to future tarnish.
- Using Harsh Chemicals: Harsh chemicals can damage the brass and potentially pose health risks. Always read and follow the manufacturer’s instructions.
- Not Rinsing Thoroughly: Leaving residue from cleaning solutions can lead to discoloration or corrosion. Always rinse the brass thoroughly.
- Not Drying Completely: Moisture is the enemy of brass. Always dry the brass completely to prevent water spots and oxidation.
- Ignoring the Type of Brass: Different types of brass may react differently to cleaning methods. If you’re unsure, test the cleaner in an inconspicuous area first.
The Beauty of Restored Brass
Restoring brass is more than just removing tarnish; it’s about preserving history and appreciating the craftsmanship of these beautiful objects. Whether you’re a collector, a homeowner, or simply someone who appreciates the elegance of brass, the process of restoring and caring for these items can be incredibly rewarding. The gleaming surface of restored brass brings a sense of timeless beauty to any space. Understanding the process of restore your brass, from identifying the metal to choosing the right cleaning method, is the first step. Knowing how to remove the patina and maintain it will allow you to enjoy your brass treasures for many years. Remember, the best approach is often the gentlest. The goal is to remove the unwanted patina without damaging the brass itself. Regular cleaning and proper care are key to keeping your brass looking its best. The allure of brass has endured for centuries, and with the right care, your brass items will continue to shine for generations to come. Learning to restore your brass will enhance your appreciation of its beauty. The process of removing patina is a journey of discovery. The knowledge you gain will empower you to keep your brass looking its best. Proper care is vital to maintaining the beauty of your brass. By learning how to restore your brass, you are investing in its longevity. Knowing how to remove the patina and then maintain it will allow you to enjoy your brass treasures for many years. Remember, regular cleaning and proper care are key. The warm glow of brass can enhance any home. By learning how to restore your brass, you’re adding to your home’s beauty. The process of patina removal is a satisfying one. The goal is to remove the unwanted patina without damaging the brass. Learning how to restore your brass is a worthwhile endeavor. This guide has provided the information you need to succeed. Your efforts to restore your brass will be rewarded. The beauty of brass is its lasting appeal. The choice to remove the patina is yours. The secrets to maintaining your brass are now at your fingertips. Enjoy the process of patina removal and care!
[See also: Related Article Titles]


