Make Your Own Rosehip Oil: The Easy Way to Unlock Radiant Skin
In a world saturated with expensive skincare products, the allure of natural remedies and DIY solutions has never been stronger. One such powerhouse ingredient that has captured the attention of beauty enthusiasts and dermatologists alike is rosehip oil. Celebrated for its remarkable ability to rejuvenate and nourish the skin, rosehip oil offers a wealth of benefits, from reducing the appearance of scars and wrinkles to promoting a healthy, radiant complexion. The good news? You can make your own rosehip oil at home, and it’s surprisingly easy.
This article will guide you through the straightforward process of making your own rosehip oil, providing you with the knowledge and confidence to create a potent and effective skincare solution. We’ll delve into the history of rosehip oil, explore its incredible benefits, and then walk you through the simple steps to make your own rosehip oil at home. Get ready to unlock the secrets of radiant, healthy skin, all while embracing the power of nature.
The History and Benefits of Rosehip Oil
The use of rosehip oil dates back centuries, with ancient civilizations recognizing its healing properties. The Egyptians, Mayans, and Native Americans all utilized rosehips for their medicinal and cosmetic benefits. Rosehips, the fruits of the rose plant, are packed with nutrients, making them a valuable resource for skincare. The oil extracted from these hips is a rich source of vitamins, antioxidants, and essential fatty acids.
The benefits of rosehip oil are numerous and well-documented. Here are some of the key advantages:
- Rich in Antioxidants: Rosehip oil is loaded with antioxidants, such as vitamin C and vitamin E, which help protect the skin from damage caused by free radicals. These free radicals contribute to premature aging and skin damage.
- Reduces the Appearance of Scars and Wrinkles: The high concentration of essential fatty acids, particularly linoleic and linolenic acids, supports skin cell regeneration and helps to diminish the appearance of scars, fine lines, and wrinkles.
- Hydrates and Moisturizes: Rosehip oil is a lightweight yet deeply hydrating oil that helps to moisturize the skin, leaving it feeling soft and supple.
- Brightens Skin Tone: Vitamin C in rosehip oil can help to brighten the skin and reduce the appearance of dark spots and hyperpigmentation.
- Soothes Inflammation: Rosehip oil has anti-inflammatory properties that can help to calm irritated skin and reduce redness.
- Boosts Collagen Production: Rosehip oil contains vitamin A, which is known to stimulate collagen production, contributing to firmer, more youthful-looking skin.
These benefits make rosehip oil a versatile ingredient that can be used to address a wide range of skin concerns. By making your own rosehip oil, you gain control over the ingredients and ensure you are using a pure and potent product, maximizing its effectiveness.
What You’ll Need to Make Your Own Rosehip Oil
The beauty of making your own rosehip oil lies in its simplicity. You’ll only need a few basic ingredients and some readily available equipment. Here’s what you’ll need:
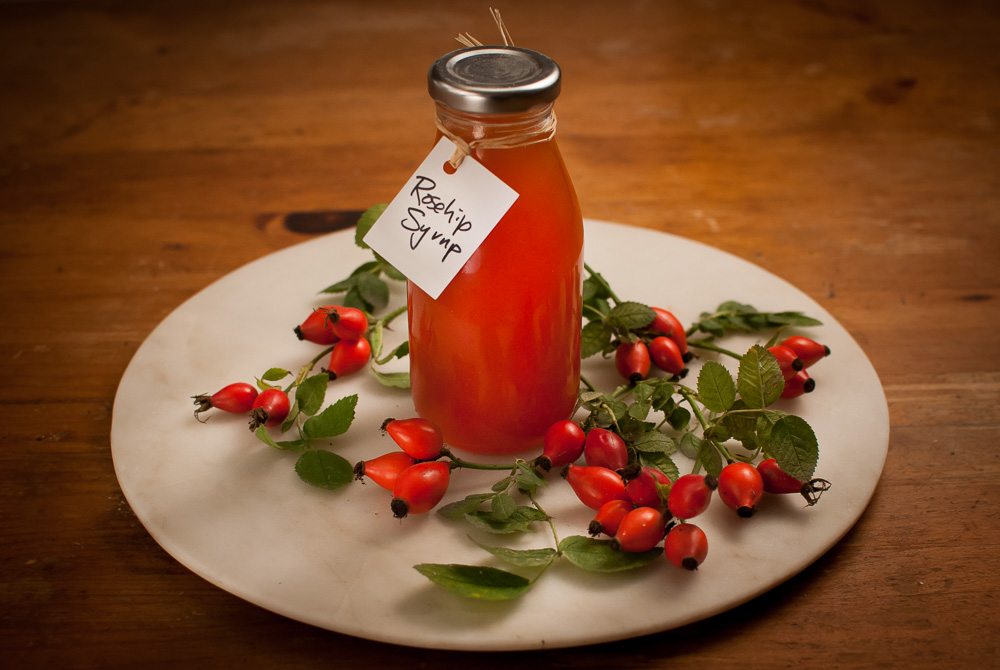
- Dried Rosehips: The star of the show! You can purchase dried rosehips from health food stores, online retailers, or even grow your own and dry them. Ensure they are organic and free from pesticides if possible. The quality of your rosehips will directly impact the quality of your oil.
- Carrier Oil: This is the base oil that will be infused with the rosehip’s goodness. Choose a high-quality, cold-pressed carrier oil, such as:
- Sweet Almond Oil: A popular choice for its light texture and moisturizing properties.
- Jojoba Oil: Closely resembles the skin’s natural sebum, making it an excellent choice for all skin types.
- Grapeseed Oil: Lightweight and easily absorbed, perfect for oily or acne-prone skin.
- Olive Oil: A readily available option, but be mindful of its stronger scent.
- A Glass Jar: A clean, airtight glass jar is essential for the infusion process. Choose a jar that is large enough to hold the rosehips and carrier oil with some room to spare.
- A Dark-Colored Glass Bottle: Once the oil is ready, you’ll need a dark-colored glass bottle to store it. This will protect the oil from light and help to preserve its potency.
- Cheesecloth or Fine Mesh Strainer: To strain the rosehips from the oil.
- Optional: Vitamin E Oil (as a preservative)
Before you begin, make sure all your equipment is thoroughly cleaned and sterilized to prevent contamination.
The Easy Steps to Make Your Own Rosehip Oil
Now, let’s get to the fun part! Here’s a step-by-step guide to making your own rosehip oil:
- Prepare the Rosehips: If your rosehips are whole, you may want to gently crush them to help release their nutrients. Place the dried rosehips in a clean glass jar.
- Add the Carrier Oil: Pour your chosen carrier oil over the rosehips, ensuring they are completely submerged. Leave about an inch of space at the top of the jar.
- Infuse the Oil: There are two main methods for infusing the oil:
- Sun Infusion: Place the jar in a sunny location for 4-6 weeks. Shake the jar gently every few days to help the infusion process.
- Warm Infusion (Gentle Heat): Place the jar in a warm water bath (a double boiler setup) on low heat for 2-3 hours. Avoid boiling the water.
- Strain the Oil: After the infusion period, strain the oil through cheesecloth or a fine mesh strainer into a clean bowl. Press down on the rosehips to extract as much oil as possible. Discard the rosehips.
- Add Vitamin E (Optional): If desired, add a few drops of vitamin E oil to the strained rosehip oil. Vitamin E acts as a natural preservative and enhances the oil’s antioxidant properties.
- Store the Oil: Pour the rosehip oil into a dark-colored glass bottle. Label the bottle with the date and ingredients. Store the oil in a cool, dark place away from direct sunlight.
Congratulations! You’ve successfully made your own rosehip oil. Now, you can enjoy the benefits of this amazing natural skincare product.
Tips and Tricks for Success
Here are some tips to ensure your DIY rosehip oil is a success:
- Source High-Quality Ingredients: The quality of your rosehips and carrier oil will directly impact the quality of your final product. Opt for organic ingredients whenever possible.
- Be Patient: The infusion process takes time, but it’s worth the wait. Don’t rush the process.
- Protect from Light and Heat: Store your rosehip oil in a dark-colored bottle and a cool, dark place to protect it from light and heat, which can degrade its potency.
- Patch Test: Before applying rosehip oil to your entire face or body, perform a patch test on a small area of skin to check for any allergic reactions.
- Experiment with Carrier Oils: Feel free to experiment with different carrier oils to find the one that best suits your skin type.
- Consider Infusing Herbs: For added benefits, consider infusing other skin-loving herbs, like calendula or chamomile, along with the rosehips.
- Monitor for Rancidity: Rosehip oil can go rancid over time. If you notice a change in smell or consistency, it’s time to discard the oil.
By following these tips, you can maximize the effectiveness and longevity of your homemade rosehip oil.
How to Use Your Homemade Rosehip Oil
Now that you’ve taken the initiative to make your own rosehip oil, here’s how to incorporate it into your skincare routine:
- As a Facial Serum: Apply a few drops of rosehip oil to your cleansed face and neck in the morning and evening. Gently massage it into your skin until absorbed.
- As a Moisturizer: Rosehip oil can be used as a standalone moisturizer, particularly for those with dry skin.
- Under Makeup: Apply a thin layer of rosehip oil before applying your makeup to create a smooth, hydrated base.
- For Scars and Stretch Marks: Massage rosehip oil onto scars and stretch marks twice daily to help reduce their appearance.
- For Sunburns: Rosehip oil can help soothe and heal sunburned skin.
- As a Hair Treatment: Apply a few drops of rosehip oil to the ends of your hair to add shine and reduce frizz.
- For a DIY Face Mask: Mix a few drops of rosehip oil with other natural ingredients, such as honey or yogurt, to create a customized face mask.
The versatility of rosehip oil allows you to tailor its use to your specific skincare needs. Regular use of your homemade rosehip oil can lead to a noticeable improvement in your skin’s overall health and appearance.
Potential Side Effects and Precautions
While rosehip oil is generally considered safe for most people, it’s essential to be aware of potential side effects and take precautions:
- Allergic Reactions: Although rare, some individuals may experience an allergic reaction to rosehip oil. Symptoms can include redness, itching, and swelling. Always perform a patch test before widespread use.
- Sensitivity to Sunlight: Rosehip oil may increase your skin’s sensitivity to sunlight. It’s crucial to wear sunscreen when using rosehip oil, especially during the day.
- Acne Breakouts: In some cases, rosehip oil may cause acne breakouts, particularly in individuals with oily or acne-prone skin. If this occurs, discontinue use.
- Use with Caution if You Have Certain Skin Conditions: Consult with a dermatologist before using rosehip oil if you have existing skin conditions, such as eczema or rosacea.
By being mindful of potential side effects and taking necessary precautions, you can safely enjoy the benefits of rosehip oil.
Conclusion: Embrace the Power of DIY Rosehip Oil
Making your own rosehip oil is a rewarding experience that empowers you to take control of your skincare routine. By following the simple steps outlined in this article, you can create a potent and effective product that harnesses the natural healing properties of rosehips. From reducing the appearance of scars and wrinkles to promoting a radiant complexion, rosehip oil offers a wealth of benefits for all skin types. So, gather your ingredients, embrace the process, and embark on your journey to healthier, more luminous skin. The process to make your own rosehip oil is easy and the results are well worth the effort.
By choosing to make your own rosehip oil, you’re not just investing in your skin’s health; you’re also embracing a more sustainable and natural approach to beauty. You can confidently take care of your skin with a product you’ve created yourself, knowing exactly what it contains. So, why wait? Start your rosehip oil journey today and unlock the secrets to a radiant and healthy complexion. The ability to make your own rosehip oil is a gift to your skin.
[See also: Benefits of Rosehip Oil for Skin, Best Carrier Oils for Rosehip Oil, DIY Skincare Recipes]

