Jacking Up Your Car: A Step-by-Step Guide to a Successful Oil Change
Maintaining your vehicle is crucial for its longevity and performance. Among the most fundamental maintenance tasks is the oil change. While many drivers opt for professional services, performing an oil change yourself can save money and provide a deeper understanding of your car. This guide provides a detailed, step-by-step process for jacking up your car and changing your oil, ensuring a safe and efficient experience. This process is a crucial part of a successful oil change, and understanding the proper techniques is vital.
This article focuses on the practical aspects of changing your oil, emphasizing the importance of safety and precision. We’ll cover everything from gathering the necessary tools to disposing of used oil responsibly. Remember, working on your car can be rewarding, but it also demands attention to detail and a commitment to safety. The foundation of any oil change is knowing how to safely jack up your car.
Gathering Your Supplies: What You’ll Need
Before you begin, ensure you have all the necessary tools and supplies. This preparation will streamline the process and prevent interruptions. Here’s a comprehensive checklist:
- New oil (check your car’s manual for the correct type and quantity)
- New oil filter (ensure it’s the correct one for your vehicle)
- Wrench for the oil drain plug (usually a socket wrench)
- Oil filter wrench
- Jack and jack stands
- Wheel chocks
- Drain pan
- Funnel
- Gloves (nitrile or similar)
- Rags or shop towels
- Safety glasses
- Owner’s manual (for reference)
Having all these items readily available will make the entire oil change process smoother and more efficient. Remember to double-check that you have the correct oil filter and oil type specified for your car’s make and model.
Preparing Your Vehicle: Safety First
Safety is paramount when working on any vehicle. Before you even think about jacking up your car, take these crucial steps:
- Park your car on a level surface.
- Engage the parking brake firmly.
- Place wheel chocks behind the rear wheels if you’re jacking up the front of the car, or in front of the front wheels if you’re jacking up the rear. This prevents the car from rolling.
- Allow the engine to cool down. Working with a hot engine can lead to burns.
Ignoring these steps can lead to serious injury. Always prioritize safety throughout the entire process. Before you start, make sure you know where the designated jacking points are on your vehicle. Consult your owner’s manual for this critical information.
Locating the Jacking Points
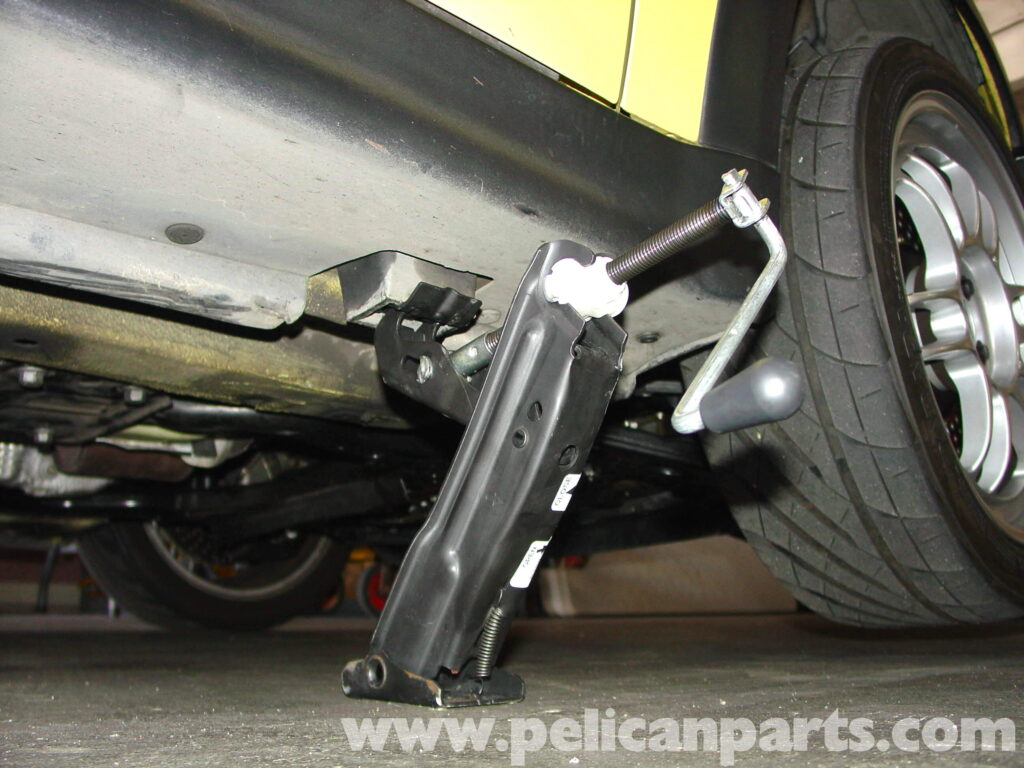
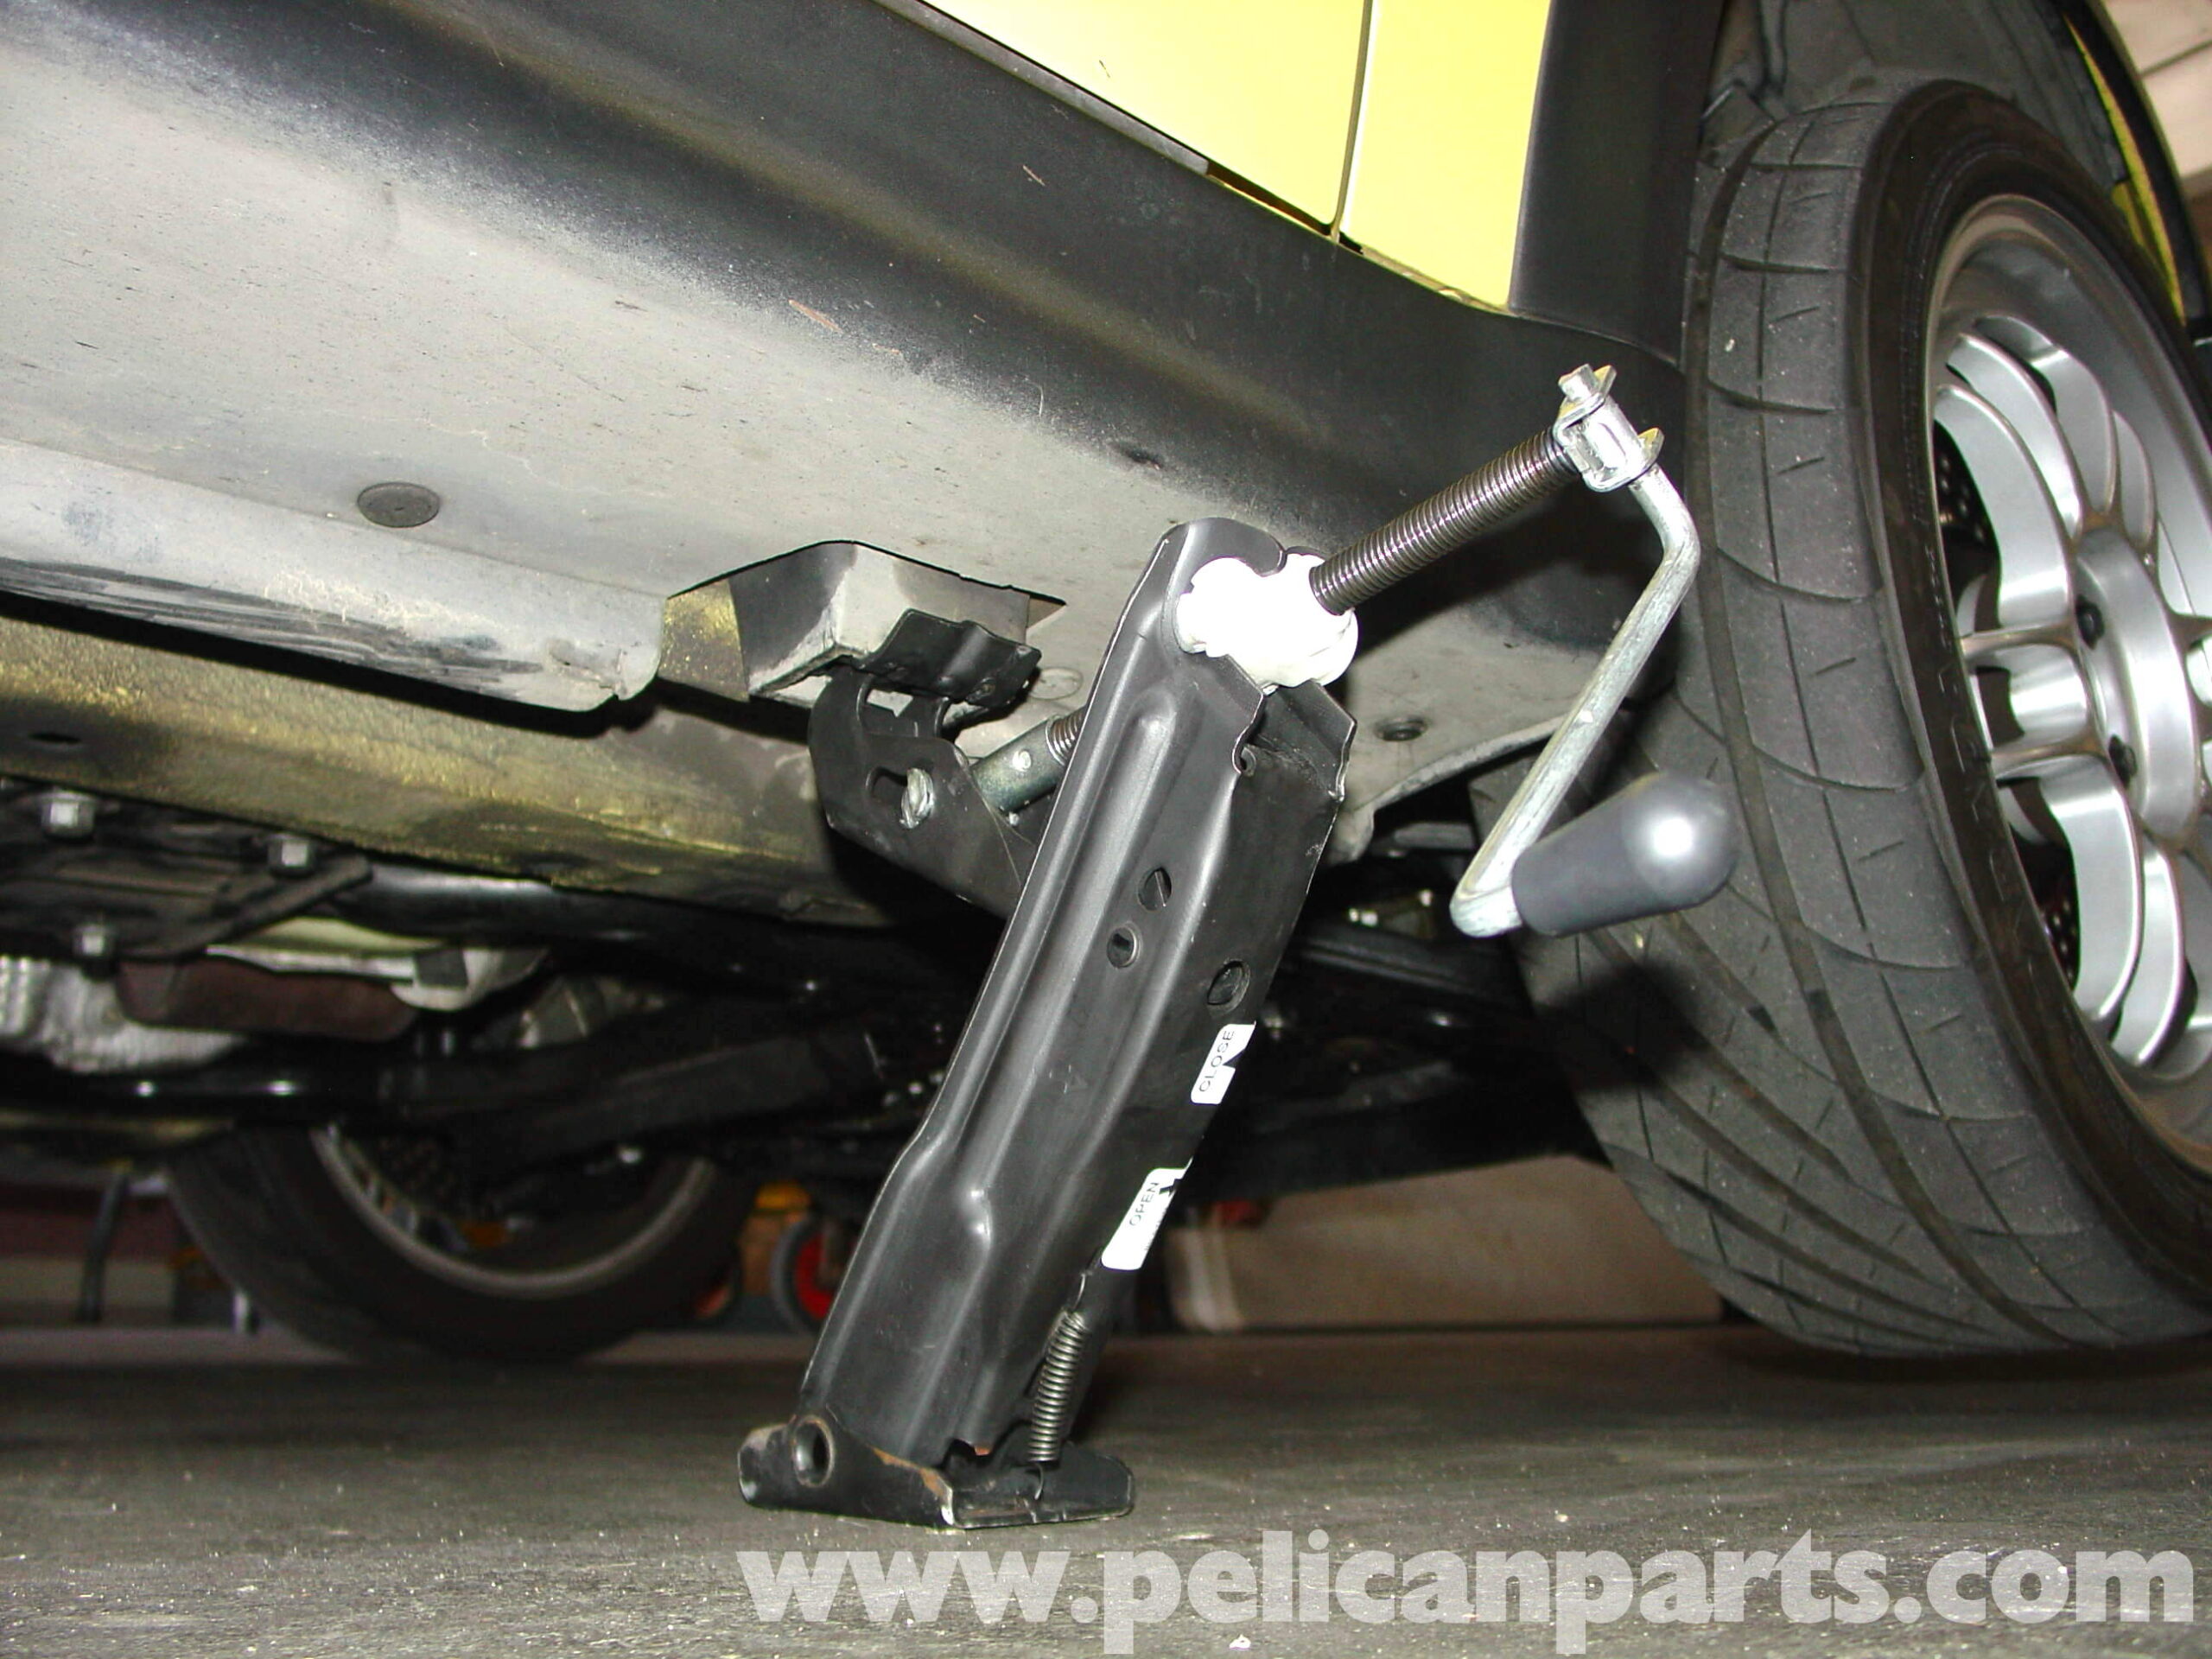
Every car has specific points designed to support its weight when jacking up your car. These are reinforced areas of the frame, usually located near the wheels. Consulting your owner’s manual is the most reliable way to find these points. Using the wrong points can damage your car’s frame and potentially lead to injury. Typically, you will find a reinforced area near the front and rear of the vehicle, usually on the frame or subframe.
Once you’ve identified the correct jacking points, you can proceed to the next step.
Jacking Up Your Car: The Proper Technique
This is where the process of jacking up your car begins. Follow these steps carefully:
- Position the jack under the designated jacking point.
- Ensure the jack is stable on a solid surface.
- Slowly raise the jack until the tire is off the ground. Raise it high enough to allow you to safely work underneath the car.
- Place a jack stand under a designated jack stand point (consult your owner’s manual for these locations) on the frame, as close as possible to the jacking point.
- Slowly lower the car onto the jack stand, ensuring the jack stand is supporting the weight of the vehicle.
- Repeat the process on the other side of the vehicle if necessary.
- Once the car is securely supported by the jack stands, give the car a gentle shake to ensure it’s stable.
Never work under a car supported only by a jack. Jack stands are essential for safety. If you’re unsure about any step, consult a professional mechanic.
Draining the Old Oil
With your car safely raised, it’s time to drain the old oil. Place the drain pan under the oil drain plug, which is usually located on the bottom of the oil pan. Use the appropriate wrench to loosen the drain plug. Be prepared for the oil to flow out quickly. Once the plug is loose, carefully unscrew it by hand, allowing the oil to drain into the pan. Allow the oil to drain completely, which may take 15-20 minutes.
While the oil is draining, you can prepare the new oil filter. Locate the oil filter and use the oil filter wrench to loosen it. Once loose, unscrew the filter by hand. Before installing the new filter, lubricate the rubber gasket on the new filter with fresh oil. This helps create a good seal.
Replacing the Oil Filter and Drain Plug
Once the old oil has drained completely, replace the drain plug. Clean the plug and install a new crush washer (if applicable). Tighten the drain plug to the manufacturer’s recommended torque specification (check your manual). Next, screw on the new oil filter by hand, tightening it according to the instructions on the filter itself (usually hand-tight plus a half or three-quarters turn).
Ensure both the drain plug and oil filter are securely tightened to prevent leaks.
Lowering Your Car and Adding New Oil
Carefully remove the jack stands and slowly lower your car to the ground. Once the car is level, locate the oil fill cap on your engine. Remove the cap and insert a funnel. Pour in the correct amount of new oil as specified in your owner’s manual. Check the oil level with the dipstick. Add more oil if needed, but avoid overfilling. Overfilling can damage your engine.
Final Steps and Cleanup
Once the oil level is correct, replace the oil fill cap. Start the engine and let it run for a few minutes. Check for any leaks around the drain plug and oil filter. Turn off the engine and check the oil level again. Top off if necessary.
Proper disposal of used oil is crucial for environmental protection. Pour the used oil into a sealed container and take it to a local recycling center or auto parts store that accepts used oil. Never pour used oil down the drain or into the ground.
Troubleshooting Common Problems
Even with careful planning, problems can arise. Here are some common issues and how to address them:
- Oil leaks: If you notice oil leaks after the oil change, double-check the drain plug and oil filter. Ensure they are properly tightened. If the leak persists, consult a mechanic.
- Difficulty removing the oil filter: Oil filters can sometimes be difficult to remove. Use the proper oil filter wrench and apply steady pressure. Consider using a penetrating oil if necessary.
- Stripped drain plug: If the drain plug threads are stripped, you may need to replace the oil pan or have the threads repaired by a mechanic.
If you encounter any issues you can’t resolve, don’t hesitate to seek professional assistance.
Why Perform Your Own Oil Changes?
Performing your own oil changes offers several benefits. Firstly, it saves money compared to paying for professional services. Secondly, it allows you to choose the type of oil you want to use, potentially improving your engine’s performance and longevity. Thirdly, it provides a hands-on understanding of your vehicle and its maintenance requirements. Learning how to safely jack up your car is a valuable skill.
Changing your oil is a core element of car maintenance and learning how to safely jack up your car is an essential part of the process. [See also: Best Oil Types for Your Car], [See also: The Importance of Regular Oil Changes], [See also: How to Choose the Right Oil Filter].
Conclusion: Maintaining Your Vehicle’s Health
Changing your oil is a critical aspect of vehicle maintenance. By following these steps, you can safely and effectively change your own oil, saving money and gaining valuable knowledge about your car. Remember to always prioritize safety, use the correct tools and supplies, and dispose of used oil responsibly. Understanding how to properly jack up your car is the first step toward a successful oil change.
This guide provides a solid foundation for performing an oil change. However, if you’re not comfortable with any of these steps, don’t hesitate to consult a professional mechanic. Regular maintenance is key to keeping your vehicle running smoothly for years to come. Mastering the skill of safely jacking up your car will allow you to perform several other maintenance tasks.


