Get Rid of Car Scratches: The Ultimate DIY Solution
The gleaming allure of a freshly washed car is a source of pride for many vehicle owners. But that pristine appearance can be quickly marred by the dreaded car scratch. Whether it’s a minor scrape from a rogue shopping cart, a deeper gouge courtesy of an inconsiderate driver, or simply the result of everyday wear and tear, car scratches are an unavoidable reality. The good news? You don’t always have to rush to a pricey body shop. This comprehensive guide provides you with the ultimate DIY solution to effectively get rid of car scratches, restoring your vehicle’s aesthetic appeal and saving you money in the process. We’ll delve into the causes of scratches, the tools and materials you’ll need, and step-by-step instructions to tackle various scratch types. Let’s embark on this journey to get rid of car scratches and bring back that showroom shine!
Understanding Car Scratches: Types and Causes
Before we dive into the solutions, it’s crucial to understand the nature of the beast. Car scratches are not all created equal. The depth and severity of a scratch dictate the approach needed to get rid of car scratches effectively. Here’s a breakdown of the common types:
- Surface Scratches: These are the most superficial, barely affecting the clear coat. They often appear as light swirls or blemishes and are typically caused by improper washing techniques (e.g., using a dirty sponge or cloth) or contact with soft objects. These are the easiest to get rid of car scratches of.
- Clear Coat Scratches: These scratches penetrate the clear coat, the transparent layer that protects the paint. They may appear slightly deeper and are often caused by light brushes with objects or minor impacts.
- Paint Scratches: These scratches go through the clear coat and into the colored paint layer. They are more noticeable and require more aggressive treatment to get rid of car scratches.
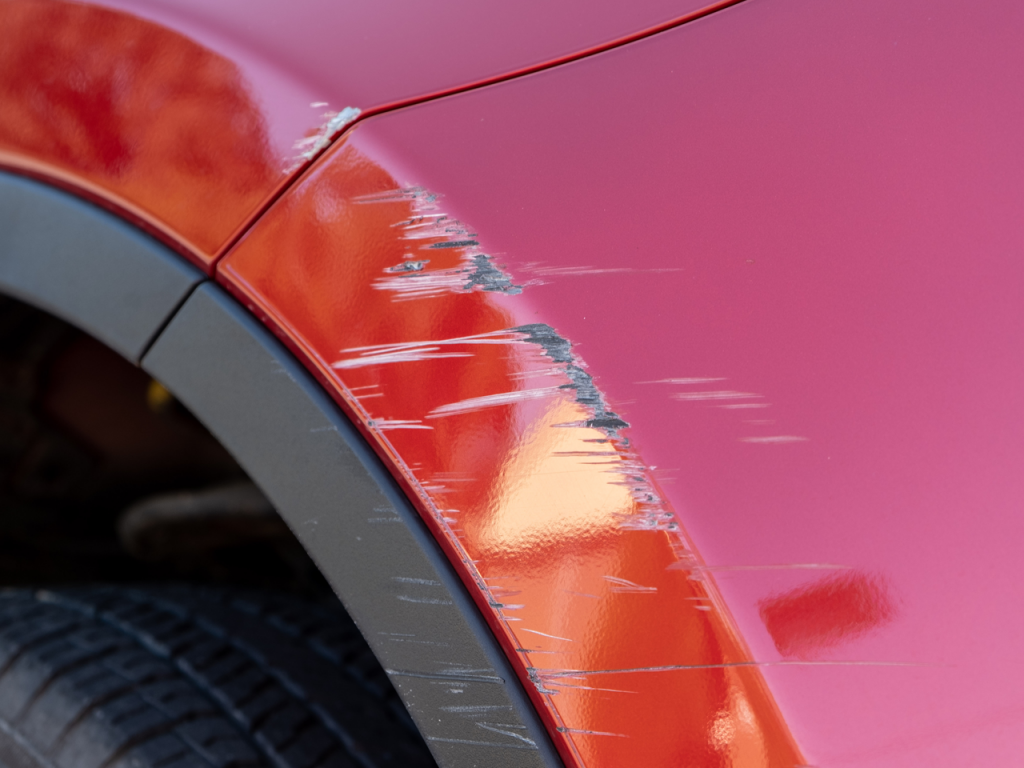
- Primer Scratches: These are the most severe, reaching the primer layer (the layer applied before the paint). These scratches often appear as a different color than the paint and may even expose the bare metal. Repairing these scratches often requires professional intervention.
Common causes of car scratches include:
- Improper Washing: Using dirty cloths, sponges, or automatic car washes with harsh brushes can inflict scratches.
- Environmental Factors: Branches, twigs, and even airborne debris can cause scratches.
- Parking Mishaps: Contact with other vehicles, shopping carts, or walls.
- Vandalism: Unfortunately, intentional acts of scratching do occur.
- Wear and Tear: Over time, minor scratches accumulate due to everyday use.
Essential Tools and Materials to Get Rid of Car Scratches
Having the right tools and materials is half the battle when it comes to effectively get rid of car scratches. Here’s a comprehensive list of what you’ll need:
- Car Wash Soap: A pH-neutral car wash soap is essential for cleaning the area before beginning repairs.
- Microfiber Towels: High-quality microfiber towels are gentle on the paint and crucial for cleaning, polishing, and applying products. Have several on hand.
- Scratch Remover/Polishing Compound: Choose a product appropriate for the scratch type (surface, clear coat, or paint). Many products are available, ranging from mild polishes to more aggressive compounds.
- Polishing Pad(s): These pads are used with a polishing machine (optional but recommended for larger areas) or by hand. Different pads cater to different compounds and scratch severities.
- Wax or Paint Sealant: After removing the scratches, apply wax or sealant to protect the paint and restore its shine.
- Applicator Pads: For applying wax or sealant.
- Rubbing Alcohol or Panel Wipe: To remove any residue before applying wax.
- Masking Tape: To protect areas around the scratch from accidental damage during polishing.
- Optional: Dual-Action Polisher (DA Polisher) or Rotary Polisher (for more extensive repairs).
Step-by-Step Guide: How to Get Rid of Car Scratches
Now, let’s get down to the practical aspect of how to get rid of car scratches. Follow these steps carefully for the best results:
Step One: Preparation is Key
- Wash and Dry the Car: Thoroughly wash the affected area with car wash soap and water. Rinse thoroughly to remove any dirt or debris.
- Dry the Area: Use a clean microfiber towel to dry the area completely.
- Assess the Scratch: Determine the depth of the scratch to choose the appropriate scratch remover.
- Masking: Use masking tape to protect any surrounding areas that you don’t want to polish, such as trim or rubber seals.
Step Two: Addressing Surface Scratches and Clear Coat Scratches
- Apply Scratch Remover: Apply a small amount of scratch remover to a clean microfiber towel or polishing pad.
- Work the Compound: Gently rub the compound onto the scratch in a back-and-forth or circular motion. Apply light to moderate pressure. If using a DA polisher, follow the manufacturer’s instructions.
- Buff and Inspect: Wipe off the excess compound with a clean microfiber towel and inspect the area. Repeat if necessary.
- Repeat as Needed: For clear coat scratches, you may need to repeat the process a few times. For deeper scratches, you may need to use a more aggressive compound or a machine polisher.
Step Three: Dealing with Paint Scratches
Paint scratches require more effort. This process may involve more aggressive polishing compounds and potentially touch-up paint (if the scratch has removed the paint layer entirely).
- Assess the Damage: Determine if touch-up paint is needed. If the scratch exposes bare metal, touch-up paint is strongly recommended to prevent rust.
- Apply Touch-Up Paint (If Necessary): Carefully apply touch-up paint using a fine brush or toothpick. Build up the paint in thin layers.
- Let it Dry: Allow the touch-up paint to dry completely according to the manufacturer’s instructions.
- Level the Paint: Once dry, use a fine-grit sandpaper (2000-3000 grit) to level the touch-up paint with the surrounding paint surface. Be extremely careful not to sand through the surrounding clear coat.
- Polish the Area: Use a polishing compound and a polishing pad to remove any sanding marks and blend the touch-up paint seamlessly.
Step Four: Protection and Finishing Touches
- Clean the Area: Use rubbing alcohol or panel wipe to remove any residue from the polishing process.
- Apply Wax or Paint Sealant: Apply a thin, even coat of wax or paint sealant to the repaired area, following the product instructions. This will protect the paint and restore its shine.
- Buff and Admire: Buff off the wax or sealant with a clean microfiber towel and admire your handiwork.
Advanced Techniques and Considerations
While the above steps provide a solid foundation, more advanced techniques and considerations can further enhance your scratch removal efforts. Learning how to properly get rid of car scratches can be a process, so be patient!
- Wet Sanding: For deeper scratches that haven’t penetrated to the primer, wet sanding with extremely fine-grit sandpaper (2000-3000 grit) can help level the surrounding paint and prepare the area for polishing. This technique requires experience and caution to avoid damaging the paint.
- Machine Polishing: Using a dual-action (DA) or rotary polisher can significantly speed up the process and achieve better results, especially on larger areas or with more severe scratches. However, machine polishing requires practice and care to avoid burning the paint.
- Professional Assistance: For primer scratches or extensive damage, consider consulting a professional detailer or body shop. They have the expertise and equipment to handle more complex repairs.
- Color Matching: When using touch-up paint, try to match the color of your car as closely as possible. Most auto parts stores can help you find the correct paint code for your vehicle.
- Temperature and Environment: Work in a shaded area, avoiding direct sunlight, which can cause the polishing compound to dry too quickly. The ideal temperature is between 60-80 degrees Fahrenheit.
Preventative Measures to Minimize Scratches
The best way to avoid having to get rid of car scratches is to prevent them in the first place. Here are some preventative measures:
- Wash Your Car Properly: Use the two-bucket method (one bucket for soapy water, one for rinsing) and a clean wash mitt or sponge. Avoid harsh brushes.
- Park Smartly: Choose parking spots away from high-traffic areas, trees, and potential hazards like shopping carts.
- Use a Car Cover: If your car is parked outside, a car cover can protect it from the elements and potential scratches.
- Apply a Protective Coating: Consider applying a ceramic coating or paint sealant to provide an extra layer of protection against scratches and other environmental damage.
- Regular Maintenance: Regularly inspect your car for any signs of damage and address them promptly.
Conclusion: Embrace the DIY Path to a Flawless Finish
Learning how to get rid of car scratches is a valuable skill for any car owner. With the right tools, techniques, and patience, you can restore your car’s paint and save money compared to professional repairs. Remember to start with the least aggressive approach and work your way up. Don’t be afraid to experiment and learn from your experiences. By following the steps outlined in this guide, you can confidently tackle those unsightly scratches and keep your vehicle looking its best. The satisfaction of achieving a professional-looking result yourself is well worth the effort. Now go forth and get rid of car scratches! Your car (and your wallet) will thank you.
[See also: Related Article Titles]

