DIY Car Detailing: Removing Hard Water Spots Effectively
For car enthusiasts and casual drivers alike, the gleaming finish of a freshly detailed vehicle is a source of pride. However, maintaining that pristine appearance can be a constant battle, especially against the relentless forces of nature. Among the most persistent and unsightly foes are hard water spots. These stubborn blemishes, caused by mineral deposits left behind after water evaporates, can quickly diminish your car’s aesthetic appeal. Fortunately, tackling hard water spots doesn’t necessarily require professional detailing services. This comprehensive guide provides a step-by-step approach to DIY car detailing, focusing on the effective removal of hard water spots and restoring your car’s showroom shine.
The prevalence of hard water spots highlights the importance of proper car care. Whether you’re a seasoned detailer or a weekend warrior, understanding the science behind these blemishes and the best methods for their removal is crucial. This article will equip you with the knowledge and techniques to confidently remove hard water spots and maintain your car’s beautiful finish. We’ll delve into the causes, prevention, and, most importantly, the DIY methods for eliminating these unsightly marks.
Understanding the Enemy: What are Hard Water Spots?
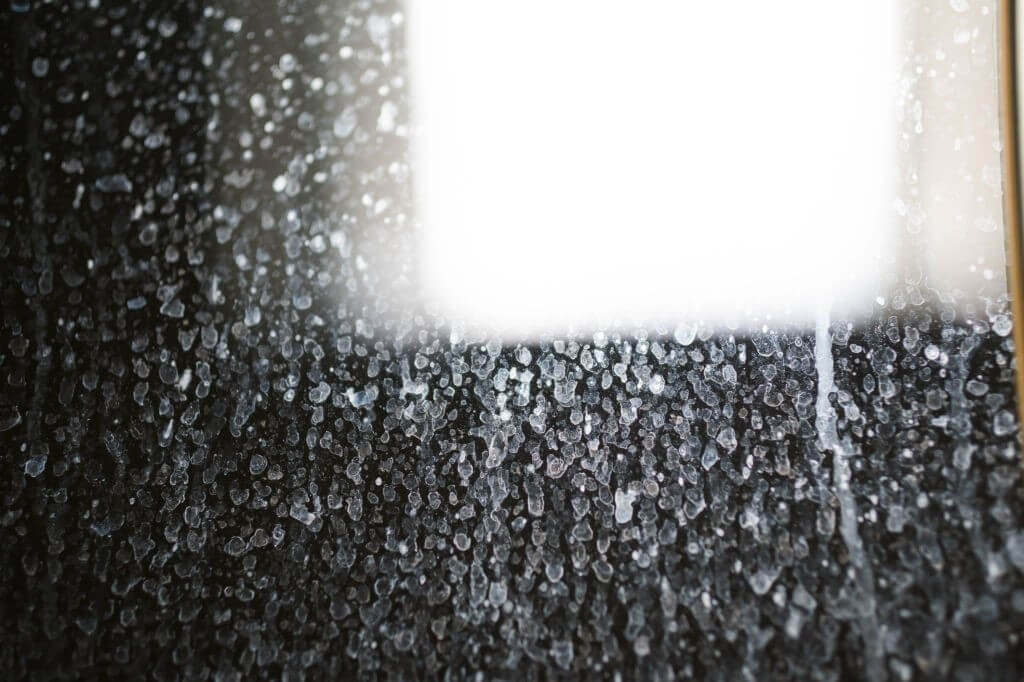
Before we dive into removal techniques, it’s essential to understand what hard water spots are and how they form. Hard water contains a high concentration of dissolved minerals, primarily calcium and magnesium. When water evaporates, these minerals are left behind, forming those characteristic spots. The intensity and visibility of these spots depend on several factors, including the mineral content of the water, the surface of the car, and the duration of exposure.
Hard water spots are not just a cosmetic issue; they can also potentially damage your car’s paint. The minerals in hard water can etch into the clear coat, creating microscopic imperfections that, over time, can lead to more significant damage. Therefore, addressing these spots promptly is crucial for preserving your car’s paint and overall value.
Identifying Hard Water Spots: Beyond the Obvious
Hard water spots are typically easy to identify. They appear as small, circular, or irregularly shaped spots on the car’s surface. These spots are most noticeable after washing or rain, when the water has evaporated and left behind the mineral deposits. They are commonly found on horizontal surfaces, such as the hood, roof, and trunk, where water tends to pool.
However, hard water spots can sometimes be confused with other types of blemishes, such as bird droppings or tree sap. It’s essential to differentiate between these to apply the appropriate removal methods. Hard water spots often have a distinct, almost crystalline appearance, while other contaminants may have a more amorphous or sticky texture.
DIY Car Detailing: Essential Tools and Supplies
Before you begin removing hard water spots, gather the necessary tools and supplies. Having everything ready will streamline the process and ensure you can tackle the job efficiently. Here’s a list of essential items:
- Car Wash Soap: A pH-neutral car wash soap is crucial for removing loose dirt and grime without damaging your car’s paint.
- Microfiber Wash Mitt or Sponge: Opt for a soft microfiber wash mitt or sponge to prevent scratches during the washing process.
- Two Buckets: Use two buckets – one for the soapy water and the other for rinsing your wash mitt or sponge. This prevents cross-contamination.
- Microfiber Drying Towels: High-quality microfiber drying towels are essential for absorbing water and preventing water spots from forming in the first place.
- Hard Water Spot Remover: This is the primary weapon in your arsenal. Choose a dedicated hard water spot remover specifically designed for automotive use.
- Clay Bar and Lubricant: A clay bar removes embedded contaminants from your car’s paint, preparing it for the hard water spot removal process.
- Polishing Compound (Optional): If the hard water spots are severe, you may need a polishing compound to remove them effectively.
- Polishing Pad and Machine (Optional): If using a polishing compound, a dual-action polisher or rotary buffer will make the process easier and more efficient. If you are new to polishing, a dual-action polisher is recommended as it is less likely to damage the paint.
- Wax or Paint Sealant: After removing the hard water spots, apply a layer of wax or paint sealant to protect your car’s paint and prevent future water spots.
- Spray Bottle: Useful for applying the hard water spot remover and lubricant.
- Clean Microfiber Towels (Plenty of them): You’ll need several clean microfiber towels for various tasks, including applying and removing products.
Step-by-Step Guide to Removing Hard Water Spots
Now that you have your tools and supplies, let’s get down to the DIY car detailing process of removing hard water spots. Follow these steps carefully for the best results:
- Wash and Dry Your Car: Begin by thoroughly washing your car with a pH-neutral car wash soap. Rinse it thoroughly to remove all loose dirt and grime. Dry the car completely using a clean microfiber drying towel. This is crucial because any remaining dirt can scratch the paint during the hard water spot removal process.
- Clay Bar Treatment (If Necessary): If your car’s paint feels rough to the touch, perform a clay bar treatment. This will remove any embedded contaminants that could hinder the hard water spot remover’s effectiveness. Use the clay bar with the provided lubricant, working in small sections.
- Apply Hard Water Spot Remover: Apply the hard water spot remover to the affected areas. Follow the product’s instructions carefully. Some products require you to spray them directly onto the spots, while others may require you to apply them to a microfiber towel first.
- Allow the Remover to Dwell: Allow the hard water spot remover to dwell on the surface for the recommended time, usually a few seconds to a minute. Do not let the product dry on the paint.
- Gently Wipe Away the Residue: Using a clean microfiber towel, gently wipe away the residue from the hard water spot remover. Work in small sections, and avoid applying excessive pressure.
- Rinse and Dry: After removing the hard water spot remover, rinse the area thoroughly with clean water. Dry the area with a clean microfiber drying towel.
- Inspect and Repeat (If Necessary): Inspect the treated area. If hard water spots remain, repeat the process. You may need to apply the remover multiple times for stubborn spots.
- Polishing (If Necessary): If the hard water spots are severe and the remover alone doesn’t eliminate them, you may need to polish the affected area. Apply a polishing compound with a machine polisher (dual-action is best for beginners) or by hand. Follow the product’s instructions.
- Wax or Paint Sealant Application: After removing the hard water spots and polishing (if necessary), protect your car’s paint by applying a layer of wax or paint sealant. This will help prevent future water spots and enhance your car’s shine.
Preventing Hard Water Spots: A Proactive Approach
While knowing how to remove hard water spots is essential, preventing them in the first place is even better. Here are some tips to minimize the formation of hard water spots:
- Dry Your Car Immediately After Washing: This is the most critical step. Use a high-quality microfiber drying towel to absorb water and prevent water spots from forming as the water evaporates.
- Wash Your Car in the Shade: Avoid washing your car in direct sunlight, as this can cause the water to evaporate quickly, increasing the likelihood of water spots.
- Use a Water Softener: If you live in an area with hard water, consider using a water softener on your home’s water supply. This will reduce the mineral content of the water.
- Use a Water Filter: For the final rinse, consider using a water filter to remove minerals from the water.
- Regularly Wax or Seal Your Car: A layer of wax or paint sealant provides a protective barrier that can help prevent water spots from adhering to your car’s paint.
- Park in a Covered Area: Whenever possible, park your car in a garage or under a carport to protect it from the elements.
Dealing with Stubborn Hard Water Spots
Some hard water spots can be particularly stubborn, especially those that have been present for a long time. In these cases, you may need to employ more aggressive techniques.
For particularly tough cases, a stronger hard water spot remover may be necessary. Always test the product in an inconspicuous area first to ensure it doesn’t damage your car’s paint. If the spots are still visible, a light polishing with a dual-action polisher and a cutting compound might be required. However, this should be done with caution, as excessive polishing can remove too much clear coat.
If you’ve tried all the DIY methods and the hard water spots persist, it may be time to consult a professional detailer. They have specialized tools and expertise to tackle even the most challenging cases.
The Importance of Proper Car Detailing
Proper car detailing is more than just making your car look good; it is also about protecting your investment. Regular car detailing, including the effective removal of hard water spots, helps preserve your car’s paint, preventing damage and maintaining its resale value. Furthermore, a clean and well-maintained car is simply more enjoyable to drive.
DIY Car Detailing: A Rewarding Experience
DIY car detailing, particularly the removal of hard water spots, can be a rewarding experience. It allows you to take pride in your car’s appearance while saving money compared to professional detailing services. By following the steps outlined in this guide, you can effectively remove hard water spots and restore your car’s shine. The key is to understand the cause of the spots, choose the right products, and follow the proper techniques. Remember to always test products in an inconspicuous area first and to exercise caution when using polishing compounds. With patience and persistence, you can achieve professional-looking results and enjoy the satisfaction of a beautifully detailed car.
This guide provides a comprehensive overview of DIY car detailing and, more specifically, removing those unsightly hard water spots. Implementing the techniques described will help you maintain the beauty of your vehicle. Remember to always prioritize safety and follow the product instructions. The process of removing hard water spots, while sometimes challenging, is a testament to the dedication car owners have to their vehicles. Following these steps will allow you to keep your car looking its best. The information provided will help you understand and address the issues caused by hard water spots, ensuring your car maintains its beautiful appearance.
The techniques described are suitable for most car owners. By learning the process of DIY car detailing and removing hard water spots, you can keep your car looking its best and avoid the issues caused by hard water. Remember to always prioritize safety and follow product instructions. The information provided will help you understand and address the issues caused by hard water spots, ensuring your car maintains its beautiful appearance.
This DIY car detailing guide equips you with the knowledge and tools to combat hard water spots. From understanding the science behind these blemishes to selecting the right products and applying the correct techniques, you’re now well-prepared to restore your car’s shine. Remember to always prioritize safety, follow product instructions, and take pride in the process. The result? A gleaming car that reflects your dedication and care. With this knowledge of DIY car detailing and the ability to remove those persistent hard water spots, your car will be looking its best in no time.
Remember that the key to successful DIY car detailing, especially the removal of hard water spots, is patience and attention to detail. Take your time, follow the steps carefully, and don’t be afraid to experiment. With practice, you’ll become a master of car detailing and enjoy the satisfaction of a beautifully maintained vehicle.
[See also: How to Wash Your Car Like a Pro]
[See also: Best Car Wax for Maximum Shine and Protection]
[See also: Understanding and Preventing Paint Oxidation]

