
Clean Your Head Gasket Surface for a Long-Lasting Seal: A Comprehensive Guide
The head gasket. A seemingly simple component, yet its failure can lead to catastrophic engine damage, leaving you stranded and facing potentially hefty repair bills. One of the most crucial steps in ensuring the longevity and effectiveness of a new head gasket is properly preparing the surface it seals against. This involves meticulously cleaning the head gasket surface, a process that removes contaminants and imperfections, guaranteeing a tight and durable seal. This guide provides a comprehensive overview of how to clean your head gasket surface for a long-lasting seal, ensuring your engine runs smoothly for years to come.
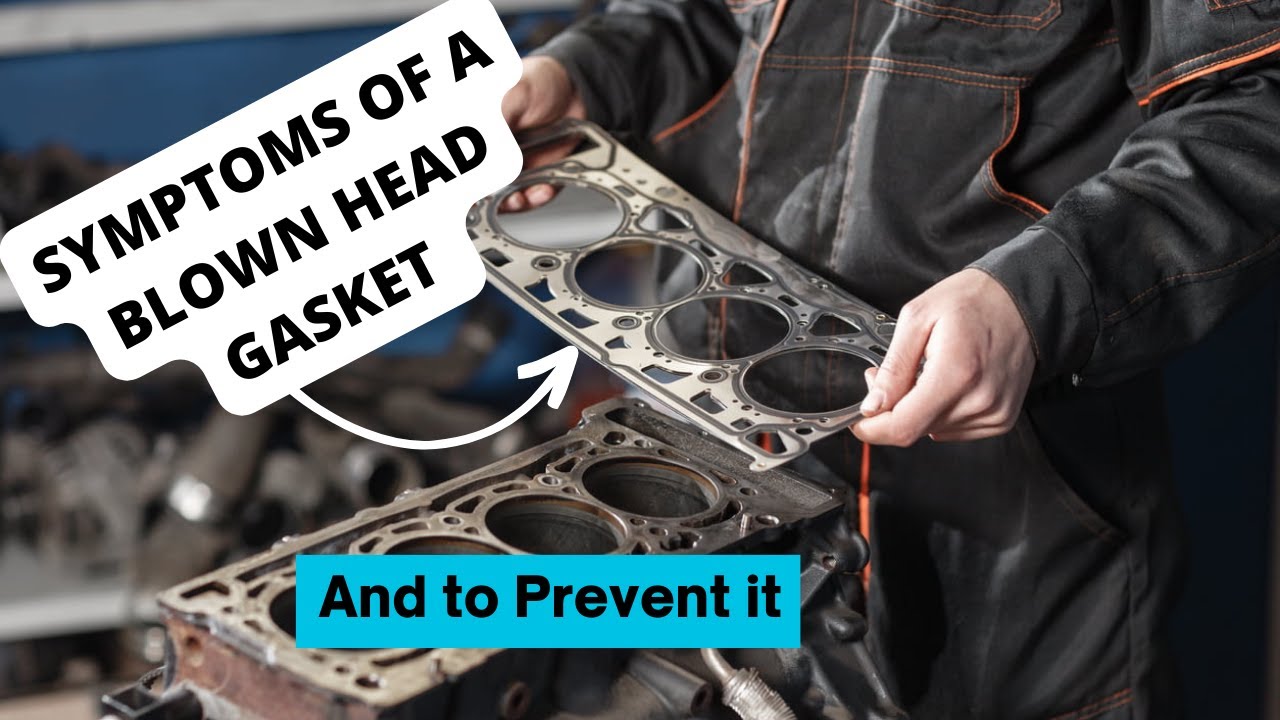
The head gasket sits between the engine block and the cylinder head. Its primary function is to seal the combustion chambers, preventing the escape of combustion gases, and to seal the coolant and oil passages, preventing leaks. When a head gasket fails, it can manifest in various ways, from overheating and loss of coolant to white smoke from the exhaust and oil in the coolant. Replacing the head gasket is a significant undertaking, and the success of the repair hinges on several factors, with the cleanliness of the mating surfaces being paramount. Failing to properly clean your head gasket surface for a long-lasting seal is a recipe for repeat failure.
Understanding the Importance of Surface Preparation
Before diving into the cleaning process, it’s essential to understand why surface preparation is so critical. The engine block and cylinder head surfaces are not perfectly smooth. They have microscopic imperfections that, if left unattended, can compromise the seal created by the head gasket. Contaminants such as old gasket material, carbon deposits, rust, and debris can fill these imperfections, preventing the gasket from forming a complete seal. This can lead to leaks, pressure loss, and ultimately, premature head gasket failure.
A clean surface allows the head gasket to compress evenly, creating a uniform seal across the entire surface area. This uniform compression is vital for preventing leaks and ensuring the engine’s optimal performance. Furthermore, a clean surface promotes better heat transfer, which is crucial for preventing overheating and extending the life of the engine. Neglecting to properly clean your head gasket surface for a long-lasting seal is like building a house on a shaky foundation; it’s only a matter of time before the structure collapses.
Tools and Materials You’ll Need
To effectively clean your head gasket surface for a long-lasting seal, you’ll need a few essential tools and materials. Here’s a comprehensive list:
- Gasket Scraper: A specialized tool designed to remove old gasket material without damaging the metal surfaces. Avoid using sharp objects like screwdrivers, as they can gouge the surfaces.
- Surface Conditioning Pads (Scotch-Brite): These abrasive pads are excellent for removing stubborn deposits and smoothing the surfaces. Choose pads appropriate for metal and follow the manufacturer’s guidelines.
- Cleaning Solvents: A high-quality solvent designed for cleaning engine parts is essential. Options include gasket remover, brake cleaner, or a dedicated solvent. Ensure the solvent is compatible with the materials of your engine.
- Shop Towels: Use clean, lint-free shop towels to wipe away debris and solvent. Avoid using rags that can leave behind fibers.
- Safety Glasses and Gloves: Always wear safety glasses to protect your eyes from flying debris and gloves to protect your skin from solvents.
- Air Compressor (Optional): An air compressor can be helpful for blowing away debris and drying the surfaces.
- Torque Wrench: A torque wrench is crucial for properly tightening the cylinder head bolts, ensuring a secure and even seal after the cleaning process.
The Step-by-Step Cleaning Process
Now, let’s get into the practical steps of how to clean your head gasket surface for a long-lasting seal. Following these steps meticulously will significantly increase the chances of a successful head gasket replacement.
- Disassembly and Inspection: Before you begin cleaning, carefully disassemble the engine components, including the cylinder head and engine block. Inspect both surfaces for any signs of damage, such as deep scratches, warpage, or pitting. If significant damage is present, the surfaces may need to be resurfaced by a machine shop.
- Remove Old Gasket Material: Using the gasket scraper, carefully remove all traces of the old head gasket material from both the cylinder head and the engine block. Work slowly and methodically, avoiding any gouging or scratching of the metal surfaces. Keep the scraper at a low angle to avoid damaging the surface.
- Apply Cleaning Solvent: Apply the cleaning solvent to the surfaces, following the manufacturer’s instructions. Allow the solvent to dwell for the recommended time to loosen any remaining debris and contaminants.
- Scrub the Surfaces: Using the surface conditioning pads, gently scrub the surfaces to remove stubborn deposits like carbon buildup and rust. Apply even pressure and work in a crosshatch pattern to ensure thorough cleaning. Avoid excessive pressure, which can damage the surfaces.
- Wipe Clean: Using clean shop towels, wipe away the loosened debris and solvent. Repeat this process until the surfaces are completely clean and free of any residue.
- Inspect the Surfaces: Once the surfaces are clean, carefully inspect them for any remaining contaminants or imperfections. Use a strong light to ensure you haven’t missed anything.
- Dry the Surfaces: If you have an air compressor, use it to blow away any remaining solvent or debris. Otherwise, allow the surfaces to air dry completely.
- Final Inspection and Preparation for Reassembly: Before reassembling the engine, double-check that the surfaces are pristine. Apply a thin layer of sealant (if recommended by the head gasket manufacturer) and prepare for reassembly, following the manufacturer’s torque specifications for the cylinder head bolts.
Common Mistakes to Avoid
While the process of cleaning the head gasket surface may seem straightforward, there are several common mistakes that can lead to problems. Avoiding these pitfalls will help you achieve a successful head gasket replacement.
- Using the Wrong Tools: Using sharp objects to scrape off the old gasket material can damage the surfaces, leading to leaks. Always use a gasket scraper designed for this purpose.
- Not Cleaning Thoroughly: Failing to remove all old gasket material and contaminants will compromise the seal. Be meticulous and ensure the surfaces are completely clean.
- Using the Wrong Cleaning Solvents: Using solvents that are not compatible with the engine materials can cause damage. Always use a solvent designed for engine parts.
- Skipping Surface Inspection: Failing to inspect the surfaces for damage or imperfections can lead to leaks. Always carefully inspect the surfaces before reassembly.
- Improper Torqueing: Incorrectly tightening the cylinder head bolts can lead to uneven pressure and leaks. Always use a torque wrench and follow the manufacturer’s specifications.
Seeking Professional Help
While the steps outlined above provide a detailed guide on how to clean your head gasket surface for a long-lasting seal, head gasket replacement can be a complex undertaking. If you are not comfortable performing this task, or if you encounter any difficulties, it’s always best to seek professional help. A qualified mechanic has the expertise and tools necessary to ensure the job is done correctly. They can also diagnose any underlying issues that may have caused the head gasket failure in the first place.
A professional mechanic will have access to specialized tools like surface plates and precision measuring instruments to ensure the surfaces are perfectly flat and within the manufacturer’s tolerances. They can also perform pressure testing to identify any potential leaks before reassembly. This can save you time, money, and frustration in the long run.
Maintaining Your Engine for Long-Term Reliability
Beyond the immediate task of replacing the head gasket and ensuring proper surface preparation, maintaining your engine is crucial for long-term reliability. Regular maintenance can help prevent head gasket failures and other engine problems.
- Regular Coolant Changes: Coolant degrades over time, losing its ability to protect the engine from corrosion and overheating. Following the manufacturer’s recommendations for coolant changes is essential.
- Monitor Coolant Levels: Regularly check your coolant levels and top them off as needed. Low coolant levels can lead to overheating and head gasket failure.
- Address Overheating Issues Promptly: If your engine overheats, address the problem immediately. Overheating is a major cause of head gasket failure. [See also: Symptoms of Overheating in Your Car]
- Avoid Over-Torquing: When tightening the cylinder head bolts, always use a torque wrench and follow the manufacturer’s specifications. Over-torquing can damage the head gasket and the cylinder head.
- Use Quality Parts: When replacing the head gasket, use a high-quality gasket from a reputable manufacturer. This will ensure a reliable seal and long-term performance.
By taking these steps, you can significantly increase the lifespan of your engine and avoid costly repairs. Properly preparing the surfaces to clean your head gasket surface for a long-lasting seal is a critical step in this process.
Conclusion
Replacing a head gasket is a significant repair, but by following the steps outlined in this guide, you can improve your chances of success. Remember that properly preparing the surfaces to clean your head gasket surface for a long-lasting seal is paramount. By using the correct tools, cleaning thoroughly, and taking the time to inspect the surfaces, you can ensure a tight and durable seal, extending the life of your engine. If you’re not comfortable with the process, don’t hesitate to seek professional help. With the right approach, you can keep your engine running smoothly for years to come. The importance of a clean surface cannot be overstated when you’re trying to clean your head gasket surface for a long-lasting seal.

