
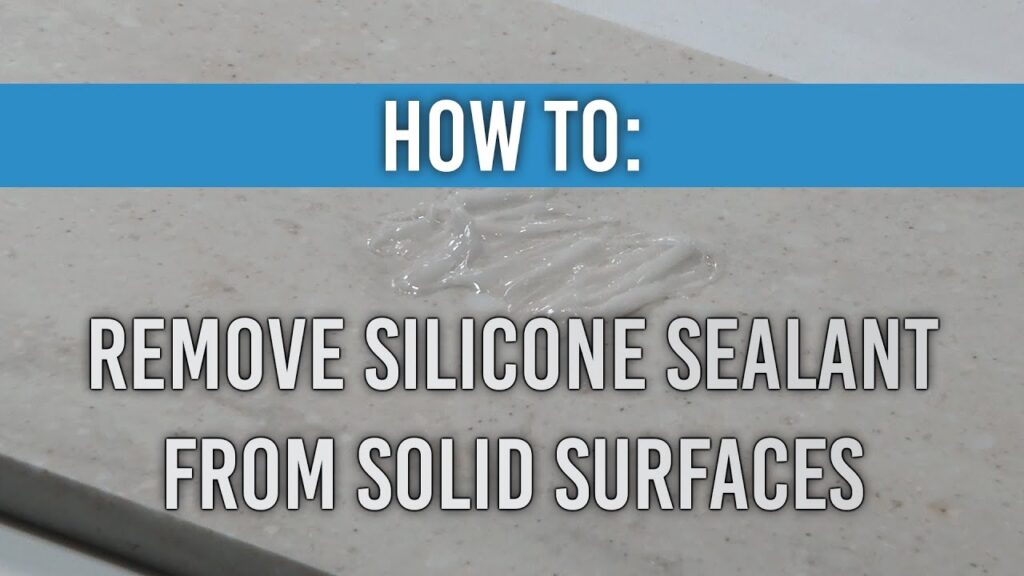
Remove Silicone Easily: Tile Cleaning Made Simple
Silicone sealant, a ubiquitous material in modern construction and home improvement, provides a watertight and flexible seal. It’s found in bathrooms, kitchens, around windows, and a multitude of other places. While incredibly useful, silicone can become a nuisance when it degrades, cracks, or simply needs replacing. Removing old silicone, however, can be a frustrating and time-consuming task. This article provides a comprehensive guide on how to remove silicone easily, focusing on practical methods and strategies to make tile cleaning a breeze. We’ll explore various techniques, from the simplest DIY approaches to more advanced methods, ensuring you have the knowledge to tackle any silicone removal project with confidence. The goal is to empower you to achieve a clean, professional finish without unnecessary struggle. This guide is designed to make the often-dreaded task of remove silicone easily and efficiently.
Understanding Silicone Sealant
Before diving into removal techniques, it’s crucial to understand the nature of silicone sealant. Silicone is a synthetic polymer that’s known for its flexibility, water resistance, and durability. Its adhesive properties allow it to bond strongly to various surfaces, including ceramic tiles, glass, metal, and plastic. However, its very strength can make removal challenging. Different types of silicone exist, including acetic-cure (releasing a vinegar-like odor), neutral-cure, and silicone-modified sealants. The type of silicone used can influence the removal process, with some requiring more aggressive methods than others. Knowing the type of silicone you’re dealing with can help you choose the most effective removal strategy. This understanding is the first step toward making it easier to remove silicone easily.
Tools and Materials You’ll Need
Having the right tools and materials is essential for a successful silicone removal project. Here’s a comprehensive list:
- Utility Knife or Razor Blade: For scoring and cutting the silicone.
- Silicone Removal Tool: Specifically designed tools with various blade shapes for scraping.
- Plastic Scraper: To avoid scratching the surface.
- Silicone Remover Solvent: A chemical solvent designed to break down silicone bonds. Choose a product appropriate for the type of silicone you are removing.
- Spray Bottle: To apply the solvent.
- Cleaning Cloths or Paper Towels: For wiping and cleaning.
- Gloves: To protect your hands from solvents.
- Eye Protection: Safety glasses are recommended.
- Ventilation: Ensure the area is well-ventilated.
Gathering these items beforehand will streamline the process and help you remove silicone easily.
Step-by-Step Guide: Removing Silicone
Follow these steps to effectively remove silicone easily:
Preparation
Before you begin, protect the surrounding surfaces. Cover any areas you want to protect from scratches or solvent spills with painter’s tape. Ensure the area is well-ventilated by opening windows and doors. Put on your gloves and eye protection.
Scoring the Silicone
Using a utility knife or razor blade, carefully score along the edges of the silicone. This creates a clean line and helps to separate the silicone from the surface. Make sure the blade is sharp to avoid damaging the surrounding surfaces. This scoring is crucial for helping you remove silicone easily.
Using a Silicone Removal Tool
A silicone removal tool is specifically designed for this purpose. These tools often have various blade shapes to tackle different angles and crevices. Use the tool to scrape away the silicone, working slowly and methodically. Apply gentle pressure to avoid scratching the surface. If the silicone is particularly stubborn, you might need to repeat the scoring and scraping process. This tool is designed to make it simpler to remove silicone easily.
Applying Silicone Remover (If Necessary)
For stubborn silicone, a silicone remover solvent can be invaluable. Apply the solvent according to the product instructions. Typically, you’ll spray the solvent onto the silicone and allow it to sit for the recommended time, which can range from a few minutes to several hours, depending on the product and the thickness of the silicone. The solvent will help to break down the silicone bonds, making it easier to remove. Ensure the area is well-ventilated during this process. This is a great step to help you remove silicone easily.
Scraping and Cleaning
Once the solvent has had time to work, use a plastic scraper to remove the softened silicone. Work in small sections, scraping away the residue. Wipe away the removed silicone with a cleaning cloth or paper towel. Repeat the process as necessary until all the silicone is removed. Be thorough to ensure a clean surface. This is the final step to remove silicone easily.
Final Cleaning
After removing the silicone, clean the area thoroughly. Use a mild detergent and water to remove any remaining solvent or residue. Rinse the area with clean water and dry it completely. This final cleaning ensures the surface is ready for new silicone or any other sealant. This last step is important to ensure you can remove silicone easily.
Advanced Techniques and Considerations
Using Heat
In some cases, applying heat can soften the silicone, making it easier to remove. A hairdryer on a low setting can be used to gently heat the silicone. Be cautious not to overheat the surface, as this could cause damage. Apply the heat evenly and then try scraping the silicone. This technique can help you remove silicone easily.
Dealing with Stubborn Residue
Even after removing the bulk of the silicone, some residue may remain. This residue can be challenging to remove. Using a silicone remover solvent again is often effective. Apply the solvent and let it sit for a longer period. Alternatively, you can use a specialized scrubbing pad designed for delicate surfaces to gently scrub away the residue. The goal is to remove silicone easily, even with residue.
Preventing Damage to Tiles
When working with tiles, it’s essential to avoid scratching or damaging the surface. Always use plastic scrapers or tools specifically designed for tile cleaning. Avoid applying excessive pressure when scraping. If you’re unsure about the surface’s sensitivity, test the silicone remover in an inconspicuous area first. This helps you to remove silicone easily without damaging the tiles.
Alternative Methods and DIY Solutions
Vinegar and Baking Soda
Some DIY enthusiasts advocate using vinegar and baking soda to remove silicone. While this method may be effective for very light silicone residue, it’s generally not as powerful as commercial silicone removers. Apply a paste of baking soda and vinegar to the silicone and let it sit for a while, then scrub and rinse. This approach can be a good first step, but it may not be enough to fully remove silicone easily.
Razor Blades and Scraping
For small areas or delicate surfaces, a razor blade can be used carefully to scrape away the silicone. However, this method requires extreme caution to avoid scratching the surface. Always hold the blade at a shallow angle and apply gentle pressure. This method is more challenging to remove silicone easily.
Maintaining Tile Cleanliness After Silicone Removal
Once you’ve successfully removed the silicone, it’s crucial to maintain the cleanliness of your tiles. Regularly clean the area with a mild detergent and water. Avoid using abrasive cleaners that could damage the tiles. Consider applying a tile sealant after removing the silicone to protect the surface and prevent future issues. This proactive approach helps maintain the clean result of your efforts to remove silicone easily.
Troubleshooting Common Problems
Silicone Won’t Budge
If the silicone is particularly stubborn, try the following:
- Use a more potent silicone remover.
- Apply the remover and let it sit for a longer period.
- Repeat the scoring and scraping process.
- Consider using heat to soften the silicone.
Patience and persistence are key when you want to remove silicone easily.
Damage to the Surface
If you accidentally damage the surface, stop immediately. Use a less aggressive method or tool. If the damage is minor, you might be able to buff it out. For more significant damage, you might need to consult a professional. Being careful helps you to remove silicone easily.
Conclusion: Achieving Professional Results
Removing silicone can be a challenging task, but with the right tools, techniques, and a bit of patience, you can achieve professional-looking results. By following the steps outlined in this guide, you’ll be able to remove silicone easily and efficiently, whether you’re tackling a small DIY project or a larger home improvement task. Remember to prioritize safety, protect the surrounding surfaces, and take your time. With the right approach, you can restore the appearance of your tiles and create a clean, fresh finish.
[See also: How to Caulk a Bathtub Like a Pro; Best Tile Cleaners for Your Bathroom; Preventing Mold and Mildew in Your Shower]

